The base setup
Rust makes it trivial to write any kind of tests for your project. But what good are they if you do not run them? In this blog series I am gonna explore the capabilities of Gitlab-CI and document how it is used in Librsvg.
First things first. What’s CI? It stands for Continues integration, basically it makes sure what you push in your repository continues to build and pass the tests. Even if someone committed something without testings it, or the tests happened to pass on their machine but not but not in a clean environment, we can know without having to clone and built manually.
CI also can have other uses, like enforcing a coding style or running resource heavy tests.
What’s Librsvg?
As the README.md file puts it.
It’s a small library to render Scalable Vector Graphics(SVG), associated with the GNOME Project. It renders SVG files to Cairo surfaces. Cairo is the 2D, antialiased drawing library that GNOME uses to draw things to the screen or to generate output for printing.
Basic test case
First of all we will add a .gitlab-ci.yml file in the repo.
We will start of with a simple case. A single stage and a single job. A job, is a single action that can be done. A stage is a collection of jobs. Jobs of the same state can be run in parallel.
Minor things were omitted, such as the full list of dependencies. The original file is here.
stages:
  - test

opensuse:tumbleweed:
  image: opensuse:tumbleweed
  stage: test

  before_script:
    - zypper install -y gcc rust ... gtk3-devel

  script:
    - ./autogen.sh --enable-debug
    - make check
Line, 1 and 2 define the our stages. If a stage is defined but has no jobs attached it is skipped.
Line 3 defines our job, with the name opensuse:tumbleweed.
Line 4 will fetch the opensuse:tumbleweed OCI image from dockerhub.
In line 5 we specify that that job is part of the test stage that we defined in line 2.
before_script: is something like a setup phase. In our case we will install our dependencies.
after_script: accordingly is what runs after every job including failed ones. We are not going to use it yet though.
Then in line 11 we will write our script. The commands that would have to be run to build librsvg like if we where to do it from a shell. Indeed the script: part is like a shell script.
If everything went well hopefully it will look like this.

Testing Multiple Distributions
Builds on opensuse based images work, but we can do better. We can test multiple distros!
Let’s add Debian testing and Fedora 27 builds to the pipeline.
fedora:latest:
  image: fedora:latest
  stage: test

  before_script:
    - dnf install -y gcc rust ...  gtk3-devel

  script:
    - ./autogen.sh --enable-debug
    - make check

debian:testing:
  image: debian:testing
  stage: test

  before_script:
    - apt install -y gcc rust ... libgtk-3-dev

  script:
    - ./autogen.sh --enable-debug
    - make check
Similar to what we did for opensuse. Notice that the only things that change are the names of the container images and the before_script:
specific to each distro’s package manager. This will work even better when we add caching and artifacts extractions into the template. But that’s for a later post.
We could refactor the above by using a template(yaml anchors). Here is how our file will look like after that.
stages:
  - test

.base_template: &distro_test
  stage: test

  script:
    - ./autogen.sh --enable-debug
    - make check

opensuse:tumbleweed:
  image: opensuse:tumbleweed
  before_script:
     - zypper install -y gcc rust ... gdk-pixbuf-devel gtk3-devel
  <<: *distro_test

fedora:latest:
  image: fedora:latest
  before_script:
    - dnf install -y gcc rust ... gdk-pixbuf-devel gtk3-devel
  <<: *distro_test

debian:testing:
  image: fedora:latest

  before_script:
    - dnf install -y gcc rust ... gdk-pixbuf-devel gtk3-devel
  <<: *distro_test
And Failure :(. I mean Success!
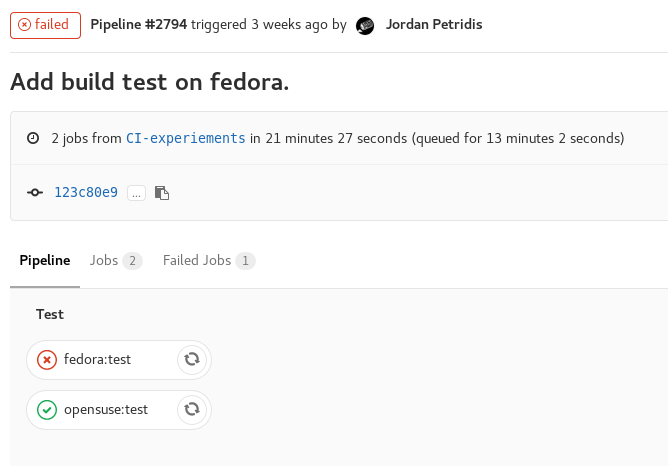
* Debian test was added later
Apparently the librsvg test-suite was failing on anything other than opensuse. Later we found out that this was the result of freetype being a bit outdated on the system Federico used to generate the reference “good” result. In Freetype 2.8/2.9 there was a bugfix that affected how the test cases were rendered. Thankfully this wasn’t librsvg‘s code misbehaving but rather a bug only in the test-suite. After regenerating the reference results with a newer version of Freetype everything worked.
Adding Rust Lints
Rust has it’s own style formatting tool, rustfmt, which is highly configurable. We will use it to make sure our codebase style stays consistent. By adding a test in the Gitlab-CI we can be sure that Merge Requests will be properly formatted before reviewing and merging them.
There’s also clippy! An amazing collection of a bunch of lints for Rust code. If we would have used it sooner it would probably have even caught a couple bugs occurring when comparing floating point numbers. We haven’t decide yet on what lints to enable/deny, so it has a manual trigger for now and won’t be run unless explicitly triggered by someone. I hope that will change Soon™.
First we will add another test stage called lint.
stage:
  - test
  - lint
Then we will add 2 jobs. One for each tool. Both tools require the rust nightly toolchain of the compiler.
# Configure and run rustfmt on nightly toolchain
# Exits and builds fails if on bad format
rustfmt:
  image: "rustlang/rust:nightly"
  stage: lint

  script:
    - rustc --version && cargo --version
    - cargo install rustfmt-nightly --force
    - cargo fmt --all -- --write-mode=diff

# Configure and run clippy on nightly toolchain
clippy:
  image: "rustlang/rust:nightly"
  stage: lint
  before_script:
    - apt update -yqq
    - apt-get install -y libgdk-pixbuf2.0-dev ... libxml2-dev

  script:
    - rustc --version && cargo --version
    - cargo install clippy --force
    - cargo clippy --all
  when: manual
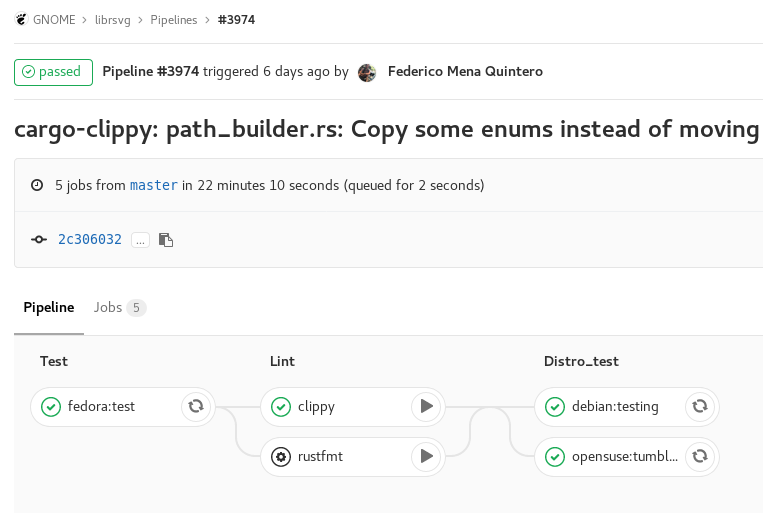
**
And that’s it, with the only caveat that it would take 40-60min for each pipeline run to complete. There are couple of ways this could be sped up though, which will be the topic of part2 and part3.
** During the first experiments, rustfmt was set as a manual trigger(enabled by default later) and cross-distro tests were grouped to their own stage. But it’s functional identical to the setup described in the post.