Renaming multiple files

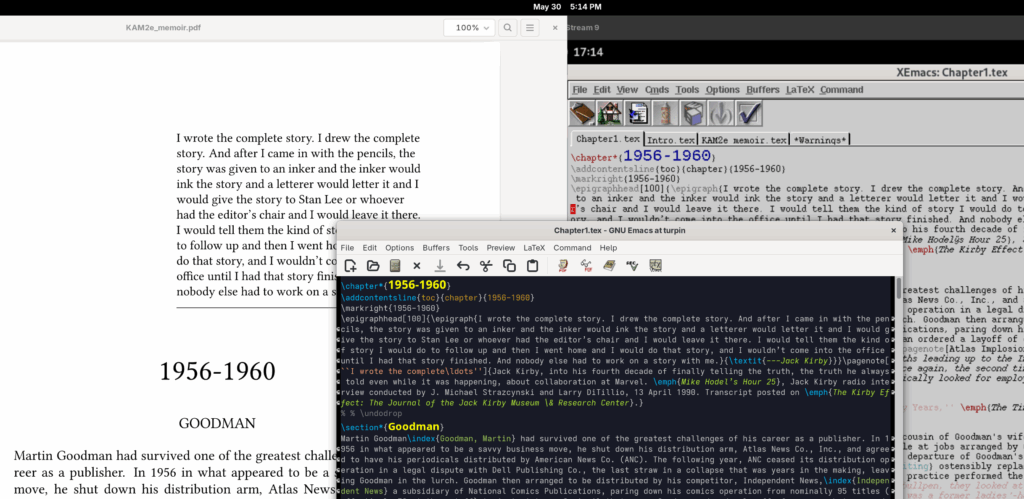
After World War II, Jack Kirby and his partner Joe Simon began their first foray into the genre of crime comics. (Kirby would return to the topic briefly in 1954 and 1971.) Beginning in 1947 and tailing into 1951, the stories appeared largely in Headline Comics and Justice Traps the Guilty for Crestwood’s Prize Publications. In 2011, Titan Books published a selection of these stories in hardcover, but sixty percent of the stories from this time period aren’t included in the book, and at least 20 stories have never been reprinted. Unlike Simon & Kirby’s much more prolific romance offerings, all of the comics in question are in the public domain and available on Digital Comic Museum and Comic Book Plus sites, thanks to multiple volunteers. I set about creating my own collection of scanned pages.

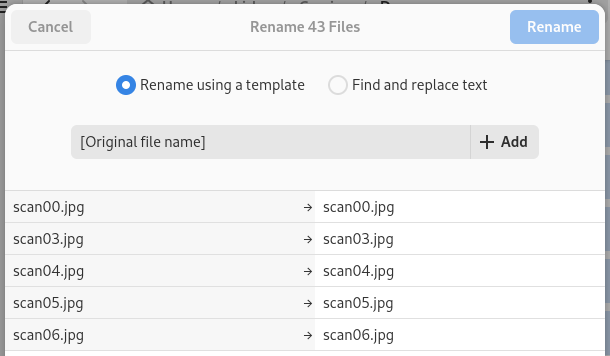
When the downloaded .cbz files are extracted into a folder, the resulting image files have names like scan00.jpg, scan01.jpg, etc. In GNOME Files, selecting all the files for a given issue and pressing F2 brings up the batch rename dialogue.

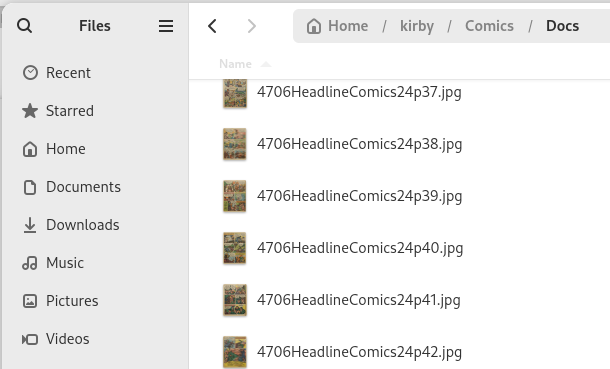
Selecting the Find and replace text option, I replace “scan” with the book title and issue number, with “p” as a separator for the page number.

When all the stories have been added, the pages will be sorted by title and issue number. To enable sorting chronologically, a four- or six-digit prefix can be used to specify the cover date, in this case “4706” for June 1947. To add this I press F2 on the same selected files and use the Rename using a template option.

Using the Jack Kirby Checklist as a guideline, and discarding (very few) stories for insufficient Kirby content, my project yielded a folder containing 633 pages including covers.


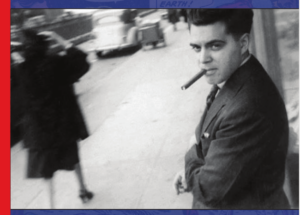
Jack Kirby (1917-1994) was a pioneer in American comic books. He grew up on the Lower East Side of New York City (where he encountered real and aspiring gangsters first hand) and fought in northeastern France in 1944 as an infantryman in Patton’s Third Army. As a partner in Simon and Kirby and the manager of the S&K studio, Kirby defined the word cartoonist—he generally wrote, penciled, inked, and occasionally coloured his own stories.
Jack Kirby photo property of the Kirby Estate. Used with permission.

Portlandia

Petr and I had an hour to kill on the final evening of the West Coast Hackfest. He’d heard about a local statue that needed to be seen (and photographed to prove we were there). Some research showed that it was a few blocks from the hotel, just over 200 m — the downtown blocks are 61 m on a side. In fact, we must have passed it every morning on the way to the bus stop.

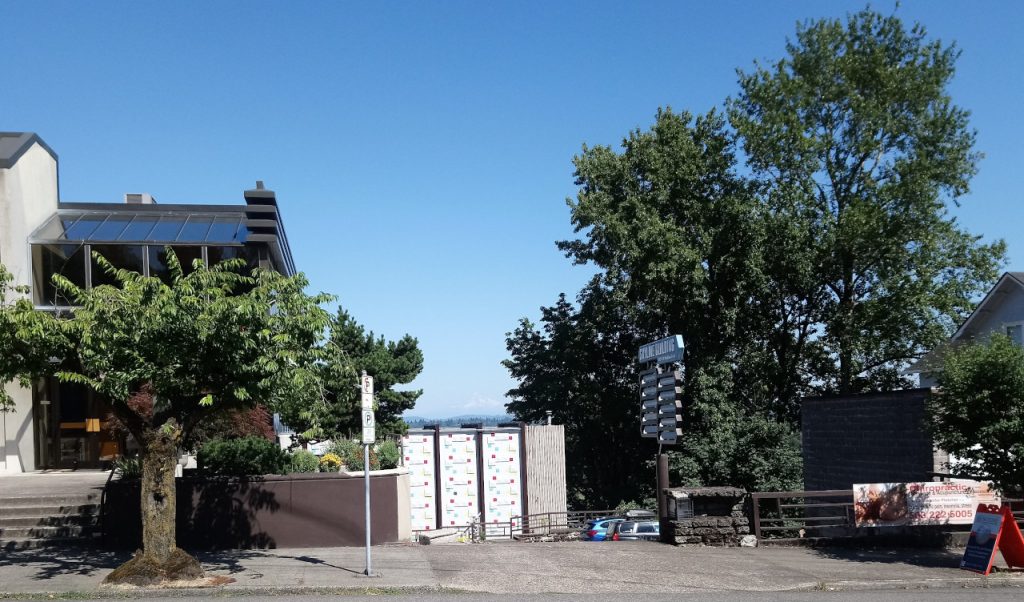
We arrived at the site to find The Portland Building undergoing substantial renovations, the reason we hadn’t paid it much attention. The sidewalk was covered by scaffolding and the view was barred by construction hoarding. Some informative signs attached to the hoarding showed the Portlandia story: photographs of the statue on a barge on the river, its original unveiling, and an architect’s rendering of the finished renovation. However, a peek inside yielded no clue as to where the statue might have stood before the renovations began. The Wikipedia entry later told us that the statue’s location was visible as a protective wrap partway up the front of the building: we’d passed it every morning without noticing.

Ice cream in the Square

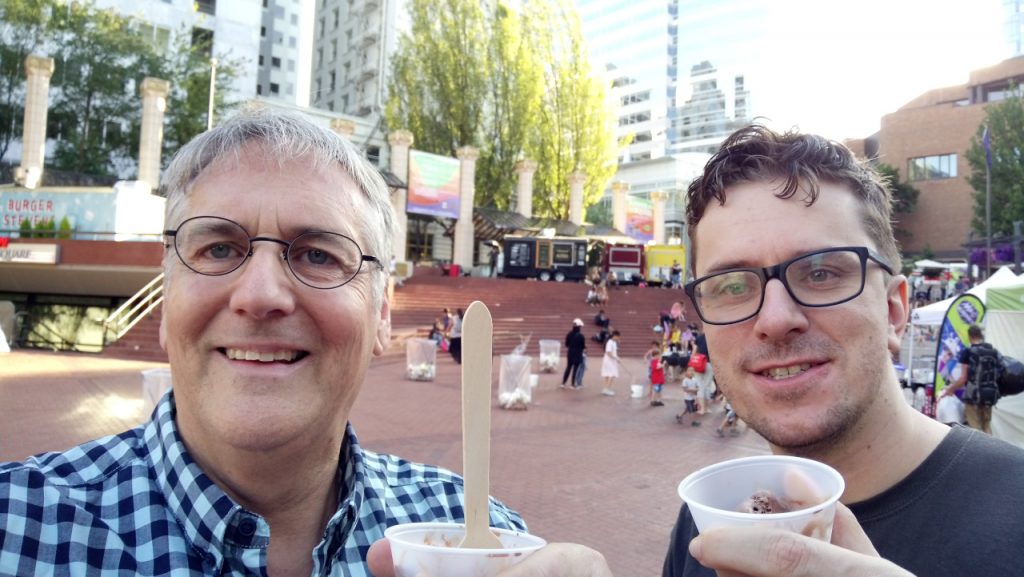
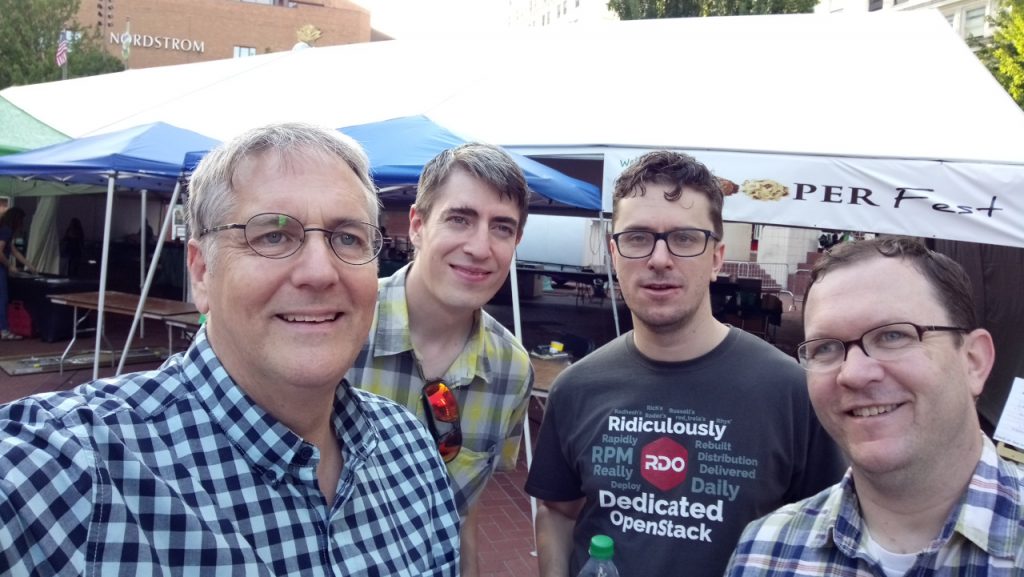
Aftermath of Scooperfest.

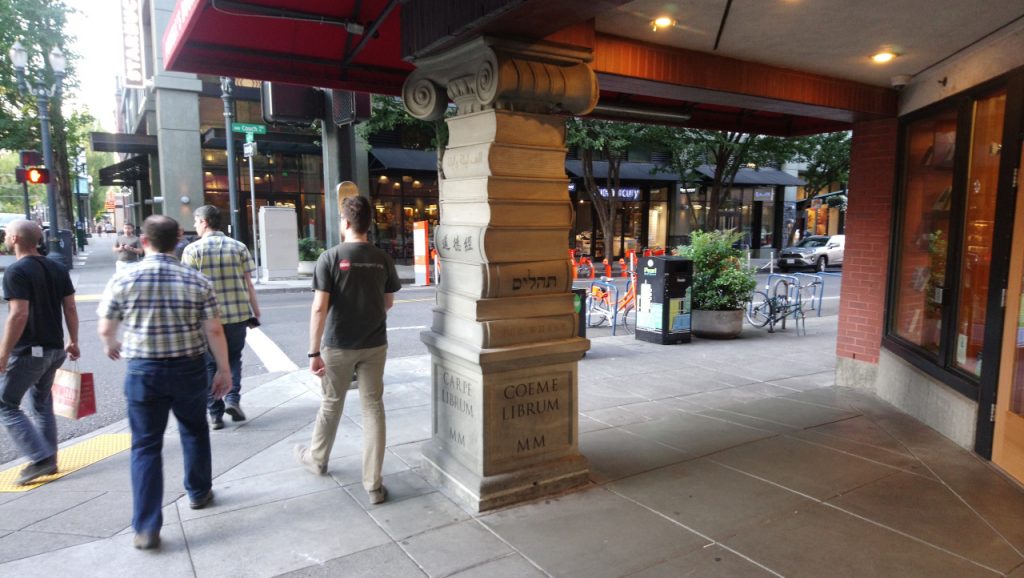
We went looking for another photogenic landmark, and wound up in the Pioneer Courthouse Square as Scooperfest was winding down. Later on our way for supper we passed an interesting column at the Friday evening workspace, Powell’s City of Books.

Powell's column

Column at alternate Powell’s entrance.

Documentation at the West Coast Hackfest

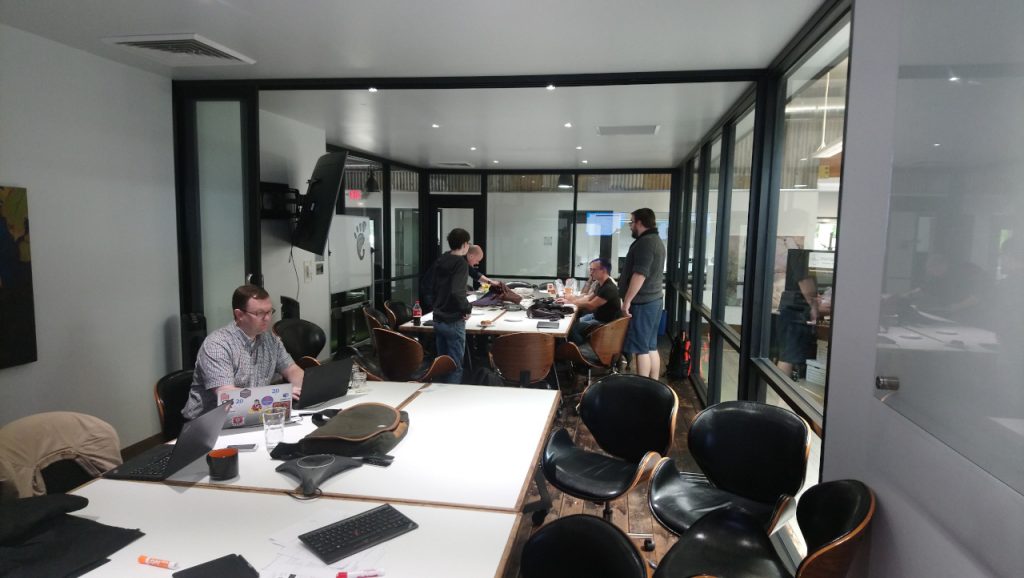
The West Coast Hackfest was a terrific experience. The venue, the Urban Office coworking space, was ideal. Sharing the space, and the energy, with the Engagement and GTK teams was inspirational. Thanks in particular to Britt for his thoughtful presentation on growing the team.

the workspace

The workspace at Urban Office.

Thursday, the first day, we had a brainstorming session. We triaged and then started attacking the GitLab issues for gnome-user-docs. Over the hackfest, we reduced 28 outstanding issues to 12.5. This entailed 33 commits and 105+ user help pages modified (in addition to a few pages in the Sys Admin Guide, and the wiki).

My part consisted of Bluetooth and Wacom pages, touchscreen gestures (still in progress, the 0.5 of an issue), general Settings updates, and some of the terminology fixes.

Nifty Control Panel feature — like others, the Wacom panel is hidden if no device is connected. This would seem to defeat the help instructions. However, when you search and select the panel from the activities overview, Settings opens to the Wacom panel and its hidden message of No stylus found/No tablet detected.

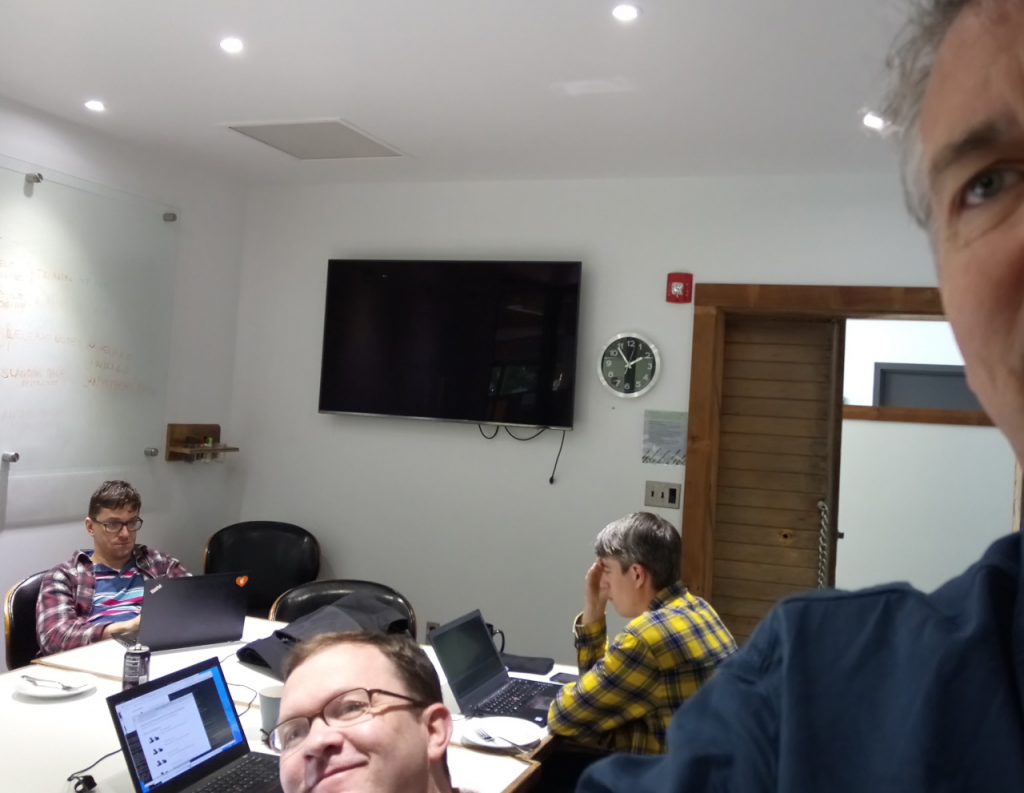
working hard

Hard at work on docs.

Friday evening we worked late in the coffee shop of Powell’s City of Books, with (a hint of) free wifi, easily accessible hot chocolate and cookies, and acres of reference material.

On Saturday, we discussed the logistics of replacing library-web with Pintail for User Docs, and Petr and Jim started implementing it.

the nonconformists

Pioneer Courthouse Square.

Saturday evening was the fun all-team event. We experienced the Portland Night Market, a combination craft fair and rib fest in the space between the off-ramps in the Industrial District.

Cascade on Belmont

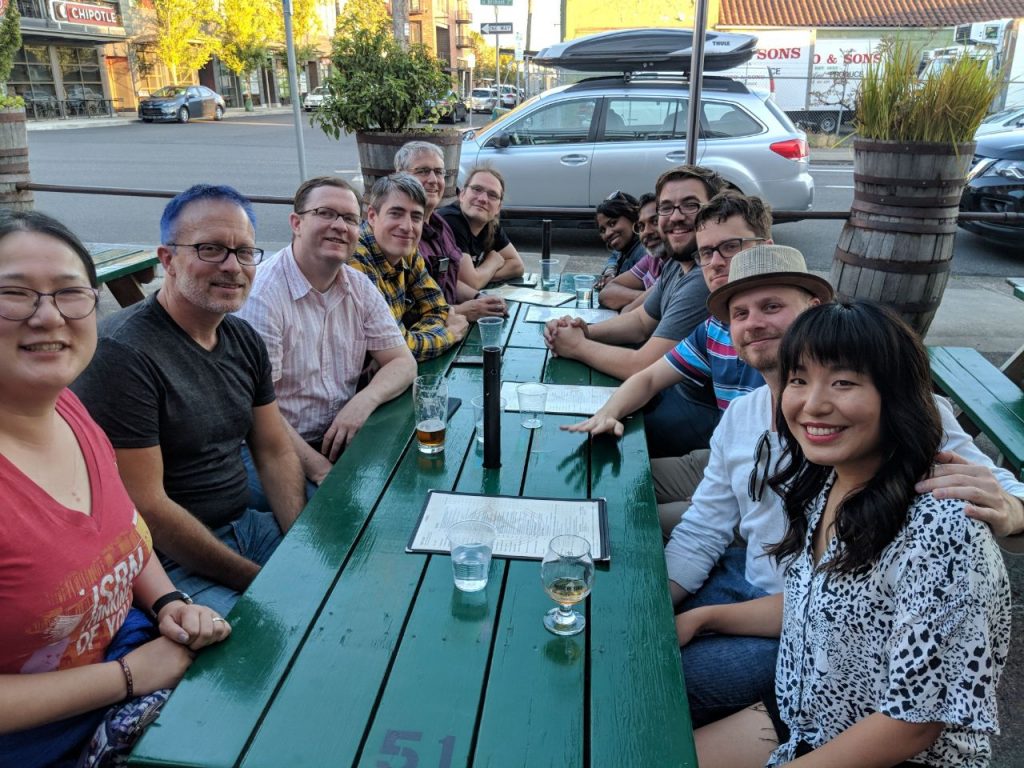
Three-team event on Saturday night (photo courtesy of Christian Hergert).

Portland is a good place for a hackfest. The transit system is excellent, and there is a nicely photogenic mountain just over 80 km away. Thank you to the organizers for a tremendous event, and thanks to the GNOME Foundation for sponsoring my travel and accommodation.

Mount Hood

Mount Hood looming over the Skyline. Unlike the postcard version, you have to zoom in.

Writing docs in a container

In February, Matthias Clasen started a series of blog posts about Fedora Atomic Workstation (now Team Silverblue) and Flatpak. I gave it a try to see how the container would work with the documentation tools.

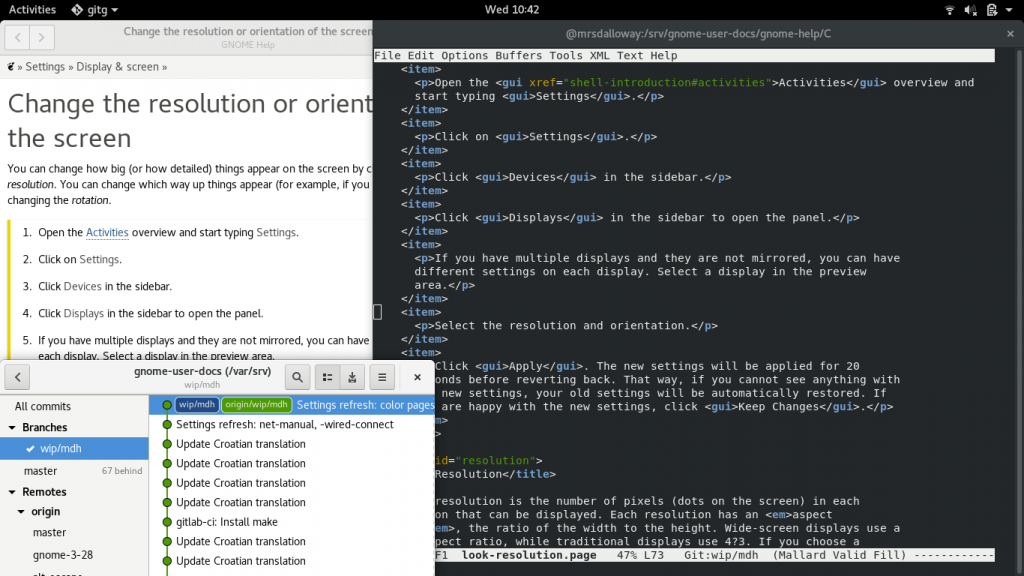
The screenshot below shows the setup I used to submit this merge request. The buildah container is in the shell window on the right where git and Emacs operate in the /srv directory. At the same time on the Silverblue desktop, gitg and Yelp see the same files in the /var/srv directory.

Recently I launched buildah and found it wasn’t connecting to the network. It goes without saying that I needed to look no further than GUADEC for the solution (Matthias indicated that “–net=host” was now required on the command line). Now I create the container like this:

sudo chcon -R -h -t container_file_t /var/srv
sudo buildah run --net=host -v /var/srv:/srv:rslave fedora-working-container bash

Emacs bindings for Mallard are courtesy of Jaromír Hradílek.

GUADEC 2018

I’m feeling extremely grateful for the shot in the arm GUADEC provides by way of old friends, new friends, expert advice, enthusiasm, time-worn wisdom, and so many reminders of why we do this.

I use FreeCAD for freelance work, and build the development version from git periodically. There is a copr nightly build for recent versions of Fedora, but not for Rawhide. The first person to whom I related this experience, David King, said the software would be ideal for the Flatpak treatment. Since then I’ve been getting a tutorial on building the YAML manifest, and after four days of hard work (thanks Dave!), it’s on the very brink of completion.

On the docs front, having adapted to GitLab and getting a merge request committed to the Desktop Help in the spring, it’s time to refresh some of the topics. I’ll be starting with the Settings pages.

A couple of jokers photobomb André’s portrait session.

Thanks to Ismael Olea, Rubén Gómez and the organizing team for a spectacular event and a wonderful cultural experience! Thank you GNOME Foundation for the sponsorship.

Giving an OS the space it demands

My favourite CAD software used to run on at least ten different platforms, including my trusty SGI Indy. There was even a Linux student version. Evidently the market spoke, and for nearly twenty years the software has been Windows-only.

Between IRIX and Linux, I’ve never had a need to allow Windows across the threshold (not least because I could get my fill by going to work). Six years ago I needed to run the CAD software at home again, so I bit the bullet, bought a Windows DVD and started dual-booting it on a desktop machine.

Sensing the completion of the work, the hard drive died, and I dismantled the computer. When I needed to reinstall the CAD software this year for some freelance work, I used the DVD to install Windows into Boxes on my laptop. In the spirit of the Bill Gates quote that never happened, I specified twice as much disk space as I could ever imagine needing. Naturally, the OS and app together consumed the alotted disk space to within a few kilobytes. I needed to resize.

The Red Hat and Fedora Guest Resizing pages were nearly what I wanted, but my libguestfs tools are too new, the first partition is already a good size, and my second partition isn’t a logical volume. Here’s what worked (as usual, if there’s a better way please set me straight):

cd ~/.local/share/libvirt/images
mv Win7.qcow2 Win7.backup
qemu-img create -f qcow2 Win7.qcow2 100G
virt-df -h ./Win7.backup
virt-resize ./Win7.backup ./Win7.qcow2 --expand /dev/sda2

Since the drive resizing I’ve been able to downgrade the CAD software to an earlier version, so 40 GB probably would have been plenty. I think I’ll leave it, though, because my laptop is relatively new and has all the disk space I could ever need.

The lesson might appear to be Windows’ disinclination to be contained, but a licensing issue with the CAD software took a few weeks to resolve. In the interim I continued to do remarkable things with FreeCAD. I’ll use the proprietary software for details related to transferring the files, but FreeCAD is very close to keeping my CAD experience Windows-free.

Celebrating Release Day

Last March, the Toronto area GNOME 3.20 release party happened to fall on release day. This release day saw Nancy and me at the hospital for the birth of our second grandson, Gord and Maggie’s second boy. Name suggestions honouring the occasion (GNOME with any manner of capitalization, Portland, or Three Two Four) were politely rejected in favour of the original plan: Finnegan Walter “Finn” Hill. Welcome to Finn and the new GNOME.

Behind the scenes with the developers

Photo by attente.

Photo by attente.

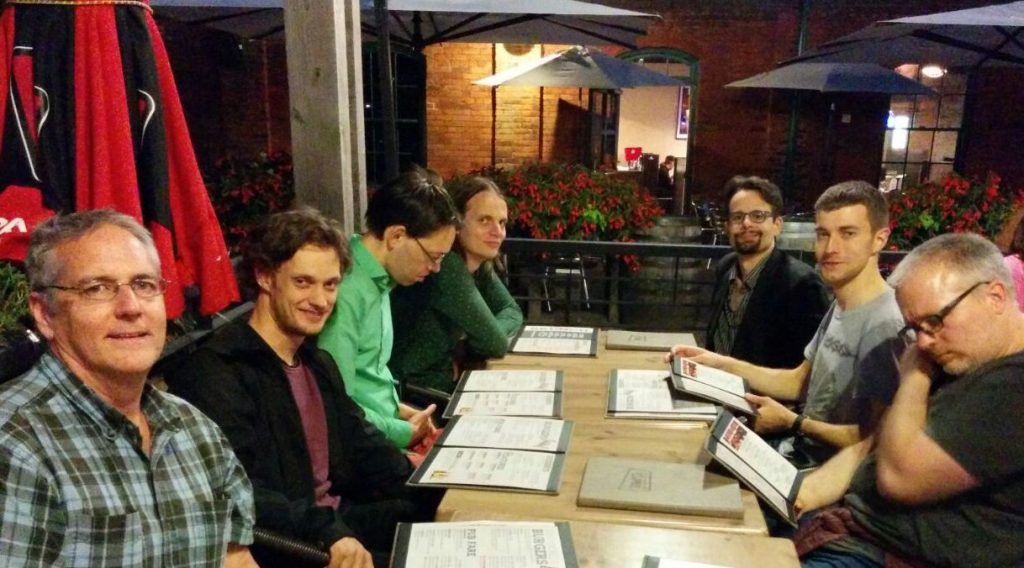
I had the privilege of sitting in on the GTK+ hackfest in Toronto last week, getting re-energized for my day job by hanging out with developers from Canonical, Collabora, Endless and Red Hat. Toronto is a fabulous city for a hackfest, and Red Hat provided a great workspace.

While there, I reviewed some user help and updated some of the Settings pages. The Transformer makes a good hackfest computer, lightweight enough for a great deal of walking, and comfortable to use when paired with the right keyboard. Remarkably, it has sufficient resources for running Continuous-in-a-Box.

There’s nothing quite as dramatic as a GNOME controversy at its epicentre. The decision-making process is as open and visible in person as it is on IRC. There is no behind the scenes.

64-bit Debian on a Bay Trail tablet

Debian Bay Trail

Debian Stretch

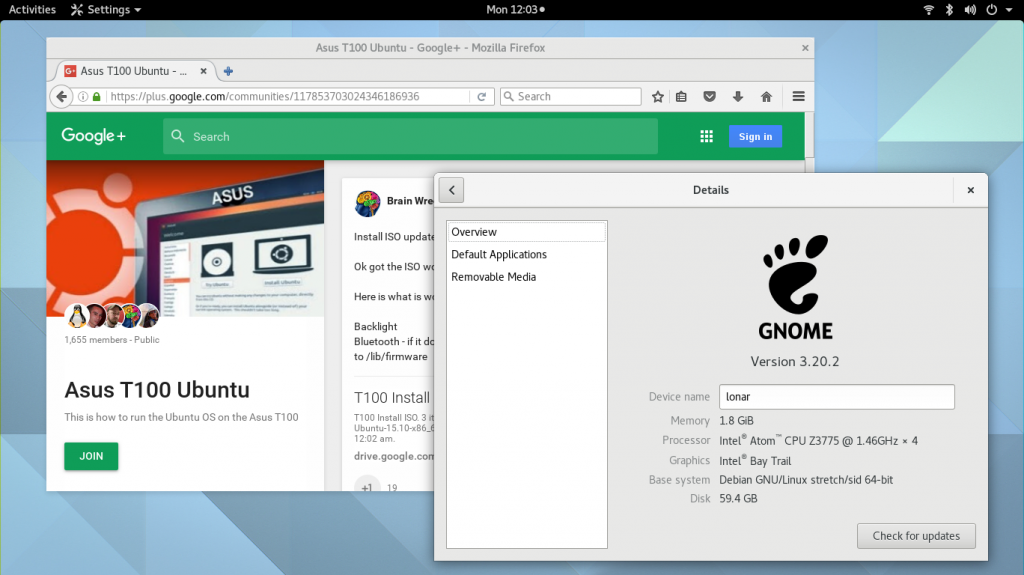
After successfully building 32-bit kernels using the Fedora method, I decided to try 64-bit Linux on my ASUS Transformer Book T100TA. The Debian multi-arch installer successfully deals with the 32-bit UEFI boot installation, and even better, certain pre-packaged Ubuntu kernels can simply be installed. Here’s my experience with the upgrade.

I started with the DebianOn ASUS T100TA wiki page. Particularly crucial is the grub command line switch for the cstates issue.

After a bit of trial and error with the install isos— couldn’t locate the correct wifi firmware on the Jessie non-free firmware netinst iso, the Alpha 5 Stretch multi-arch DVD iso would start but never complete the install to the eMMC drive—I settled on the Jessie multi-arch DVD iso with 3.16 kernel. This gave me a running Cinnamon desktop—the iso didn’t contain sufficient packages to switch to GNOME.

I located and installed the wifi firmware according to the wiki page instructions and connected using wpa_supplicant. The upgrade to Stretch and GNOME was a challenge because the wifi connection would drop every few dozen megabytes. It finished after several hours, and I had a running GNOME 3.20 desktop (something I never achieved on the Fedora install). I then…

  • switched to NetworkManager and re-installed the wifi firmware (the latter seemed to fix the issue of the connection cutting out).
  • installed non-free intel-sound firmware and the t100_B.state file, then applied Vinod Koul’s settings for working audio (be sure to keep the volume down for testing).
  • enabled and started ModemManager and installed the mobile-broadband-provider-info package to tether my phone.

The ASUS T100 Ubuntu Google+ community is a volunteer effort geared toward establishing which kernel patches, firmware, and configuration settings are required to get the hardware in the various T100* models working in Linux. Although the stock Debian Stretch kernel (4.5.0) boots with working wifi, the Ubuntu kernel packages from the G+ page (4.4.8.2 and 4.4.9.1) boot with working wifi, sound, mobile broadband, and Bluetooth. There’s still work being done on the camera driver and I haven’t tried anything with the touch screen, but at the moment my GNOME tablet experience is reasonably complete.

Corrections and suggestions welcome.


Packaging a Fedora kernel on a GNOME tablet

Fedora 23

Fedora 23

As Pa Bailey might have put it, it’s deep in the race to want to run GNOME on your tablet. At last year’s Libre Graphics Meeting in Toronto, pippin displayed GNOME on his Lenovo MIIX 3 Bay Trail device. A few months later I was able to pick up an ASUS T100TA with similar specs (if not as elegant) for a good discount. Adam Williamson’s latest Fedlet release was days old at the time, and I installed it.

I’ve been through the Fedlet installation three times, the second and third installs necessitated by some newfound inherent skill at rendering the device unusable. The installation is nerve-wracking on account of some missing or invisible buttons in Anaconda, so I’d rather upgrade than re-install. The processor supports 64-bit Linux with 32-bit UEFI, but at this point I’m happy with the 32-bit kernel. (The experience of local LUG members suggests the Debian multiarch installer will address the 32-bit UEFI while installing a 64-bit system, but a brand new Ubuntu installer will not.)

There’s a Google+ Community dedicated to running Ubuntu on the different varieties of T100. After some weeks of reading about further advances specific to the hardware, I wasn’t satisfied with the Fedlet 4.2 kernel and decided to build a newer one. For ease of installation and removal, Fedora kernel packages are worth the small effort required beyond simply compiling a kernel. The procedure on the wiki page is pretty comprehensive; below are the changes I needed to get mine working. First some notes:

  • ‘dnf upgrade’ on the newly-installed Fedlet led directly to the first from-scratch re-install. Since then I’ve installed specific required packages with dnf using ‘–best –allowerasing’. I’m still running Fedora 23 to prevent the loss of any of the customized packages (other than the kernel) from the Fedlet repo, but hopefully it will become possible (if it’s not already) to do without them. I would experiment, but at this point it’s easier to just avoid the risk.
  • the last re-install was required after I built a kernel that was capable of eating the contents of the eMMC hard drive.
  • sometime between 4.2 and 4.6, a dracut upgrade was required to enable the kernel installation to complete.
  • the 60 GB hard drive needs a hefty percentage of free space to perform the build: I usually delete the contents of BUILD and BUILDROOT from the previous build, and keep my music on the removable SD card.

Asus T100 Ubuntu: progress reports, patches and config file, sound configuration (sound works with kernels older than 4.6-rc* but so far 4.6 breaks it). The About this community panel has a Google Drive link called Asus Files with all the good stuff.

These are the sections I follow from Building a custom kernel. Please consult the original page for the details.

Dependencies for building kernels
Yes.

Skip to…
Building a kernel from the source RPM: Get the Source
I grab the kernel source package from Koji that corresponds to the patches in the Google Drive folder.

Prepare the Kernel Source Tree

rpmbuild -bp --target=$(uname -m) kernel.spec

Use ‘target=i686’ if building on my x86_64 laptop (hypothetical at this point since I haven’t successfully done this).

Copy the Source Tree and Generate a Patch
Skip this section: at this point I apply the patches (from the Google+ page) directly to the linux-* folder. I’ve performed the operation of copying the tree to create a single patch, but haven’t been successful automating it with ApplyPatch in the .spec file.

Configure kernel options
Copy in the config file acquired from the Google+ page.
Step 5 is i686.

Prepare Build Files
Customize the buildid in the .spec file (.mdh in my case).

Build the New Kernel
Use ‘noprep’ to prevent refreshing the source tree and re-applying the Fedora patches.

rpmbuild -bb --noprep --with baseonly --without debuginfo --target=`uname -m` kernel.spec

Use ‘target=i686’ if (someday) building on my x86_64 laptop.
On occasion at this point I need to rename the ~/rpmbuild/BUILD/kernel-*/linux-* folder to include the buildid  and fc23 instead of the version from the source rpm (currently fc25).

I usually do the last step with the power connected, but occasionally carry it to the car and back for the trip to work, so as not to interrupt the build. If it finishes, a full set of packages should appear in ~/rpmbuild/RPMS/i686.

Corrections and recommendations welcome.