It’s that time of the month again, when some clueless guy tries to write a hit-piece about Flatpak and we all get dejavus.
One of my favorite past-time activities for a while now has been seeing people on the internet trying to rationalize concepts and decisions, and instead of asking why things ended up the way they did, what where the issues and goals of system A, and design B, and what were the compromise, they just pick the first idea that comes to their mind and go with it.
For example, a very common scenario is that someone picks a random Proprietary application and points out all the sandbox holes it needs to function and thus declares the sandbox as useless. At no point does one of them ever ask, “Hey why does Flatpak allow to punch such holes”, “What developments have been done to limit that”, “What tools are available to deal with that”, “Why am I a cherry-picking an evil proprietary application as my example that no distribution would be able to distribute anyway and I wouldn’t want any person to use” and “What went wrong with my life that I have to write hate posts to get attention and feel any kind of emotion”. These are just a few of the question that should have come up and given one pause, way before getting anywhere near the the publish button.
Now I can answer most of these questions, and you would be happy to know that even Chromium and Electron have been adopting more and more of the sandboxed Portal APIs as the years pass. But there isn’t any point in talking about it cause none of the delirium is about the technical decisions behind Flatpak or how it works. None.
Let me explain.
Flatpak itself is a piece of software. It provides major advantages to distributing and running applications such as: atomic updates, binary deltas, reproducible build and run environments, mandatory sandboxing for many resources, and so on. How the software is built and distributed however has nothing to do with Flatpak. If you think the distribution-model is what’s best for you, you can already use Fedora’s flatpaked applications, Canonical’s snaps or your fav distro version of this. Everything is still built from distribution packages, by your distribution vendor, vetted by the package maintainers, come with the same downstream patches you’d see in the normal rpm/deb/etc variations, and so on. And you would still get the advantages of sandboxing, atomicity, etc even though you don’t need them cause you love and trust your distro so much.
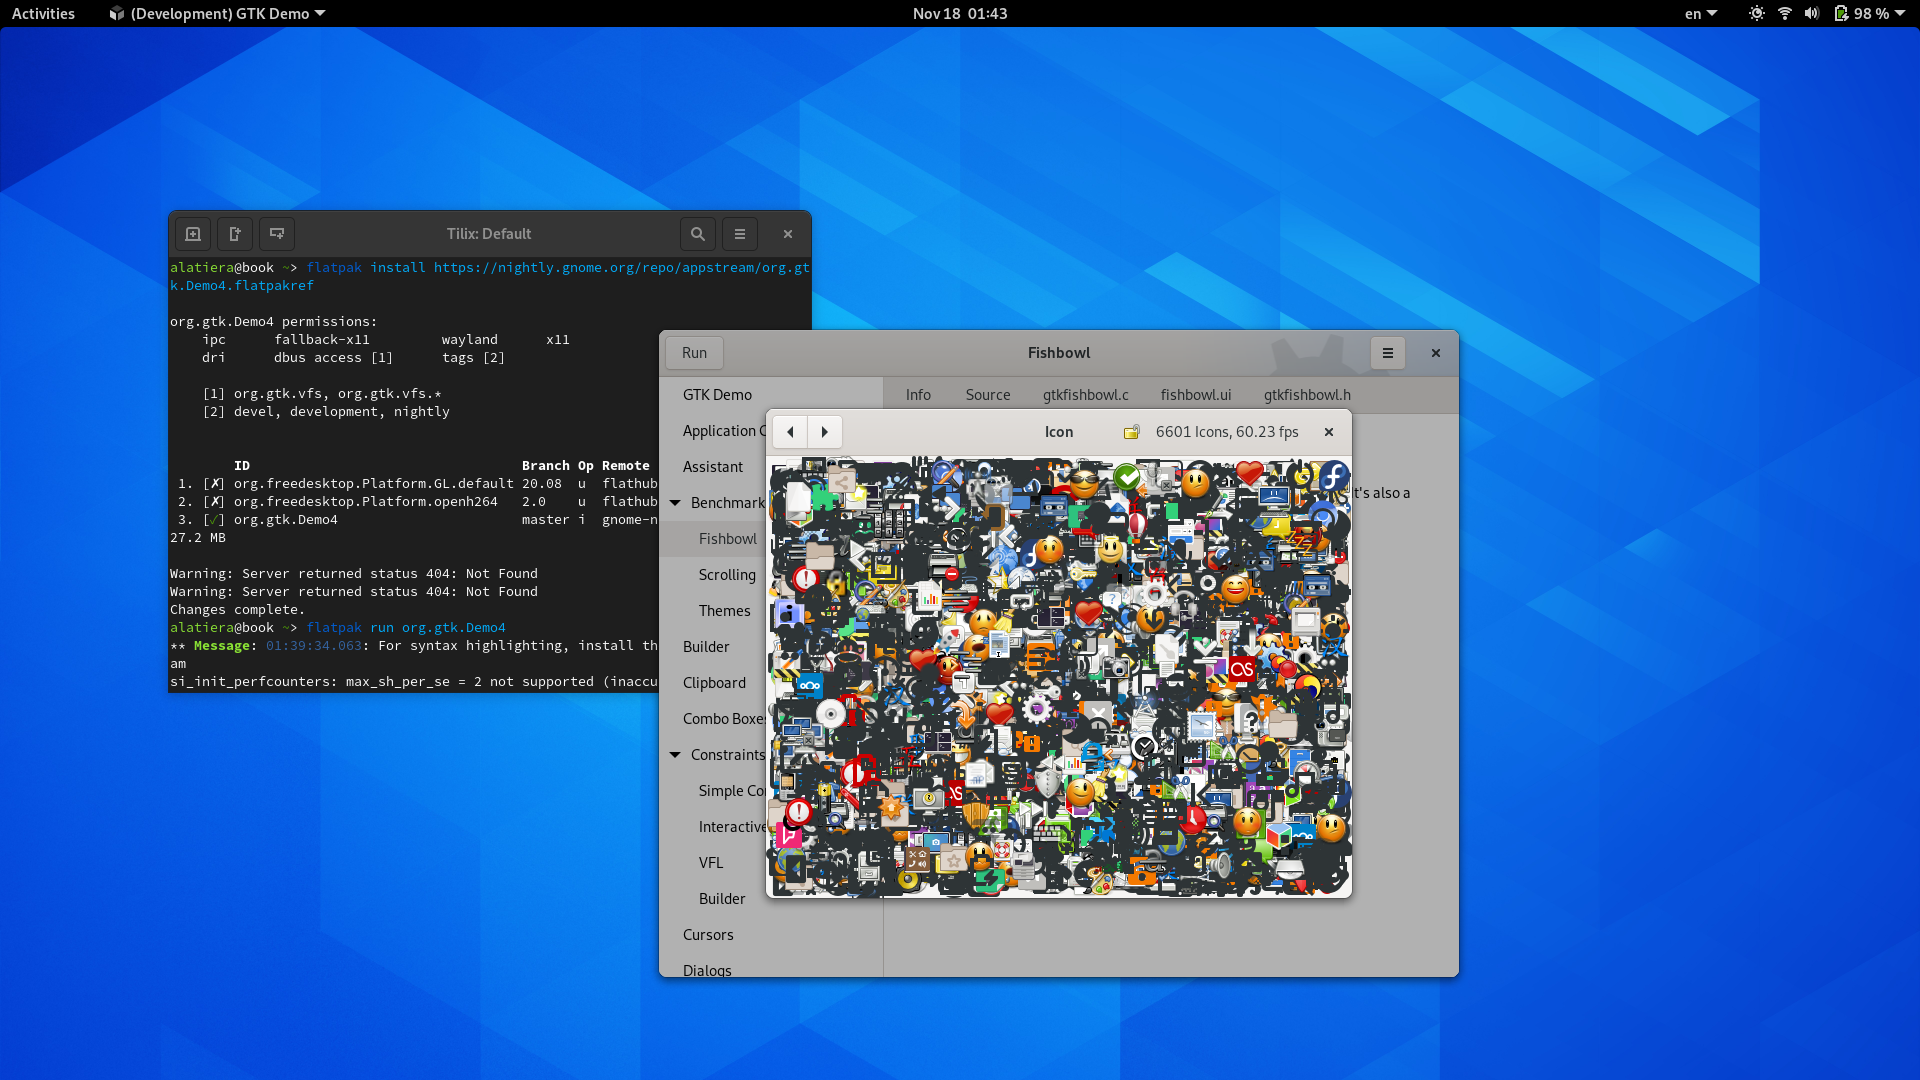
On the other hand what every single post really complains about is Flathub. You see, what Flatpak gave us was the ability to decouple the applications from the host system. Instead of taking the existing runtime from some distro, We (The platform and application developers) built our Runtimes from scratch, that we were in full control of, that we could update and mold at will, that was not bound to any existing distribution or corporation, that we could make sure our applications were fully functional with, without any downstream patches that made things orange or blue. And unlike the old distribution model, Flathub gave application developers the same autonomy. We no longer had to wait for dependencies to be packaged, or the worry about some distribution shipping an incompatible version. We didn’t have to wait until a new enough version of a library was included into an LTS release before making use of it. We could now ship our applications on our cadence, without gatekeepers, in the way we envisioned and intended.
This is what made applications truly work on any distribution. This is what was truly disruptive about Flatpak. This is what the haters are mad about.
Thanks to Flathub the social dynamic for distributing applications has changed. Now the people that create the Platforms (GNOME, KDE, Elementary, etc) and Applications are in charge of distributing them. The sysadmin-turned-distro-packager middleman trope from the 90s is gone and no developer, or user wants it back. This is why Flathub took over, this is why no application developer became a Fedora packager even when they could build Flatpaks from the rpms packaged. If we ever want “Desktop Linux” to succeed, we have to let go of the idea of Linux distributions and “Linux” as a monolith.
The old distribution model is still useful for very specific, enterprise environments where you depend on a single ISV for all your software, but unless your Surname is Mr. IBM or Mr. Canonical, you gain nothing by asking for this on your desktop.
If you want to read more on the subject I highly suggest these two blogposts, along with Richard Brown’s Fosdem 2023 talk.