Collaborating on Builder

It’s no secret I have way more projects to manage than hours in the day.

I hope to rectify this by sharing more knowledge on how my projects are built. The most important project, Builder, is quite a large code-base. It is undoubtedly daunting to dive in and figure out where to start.

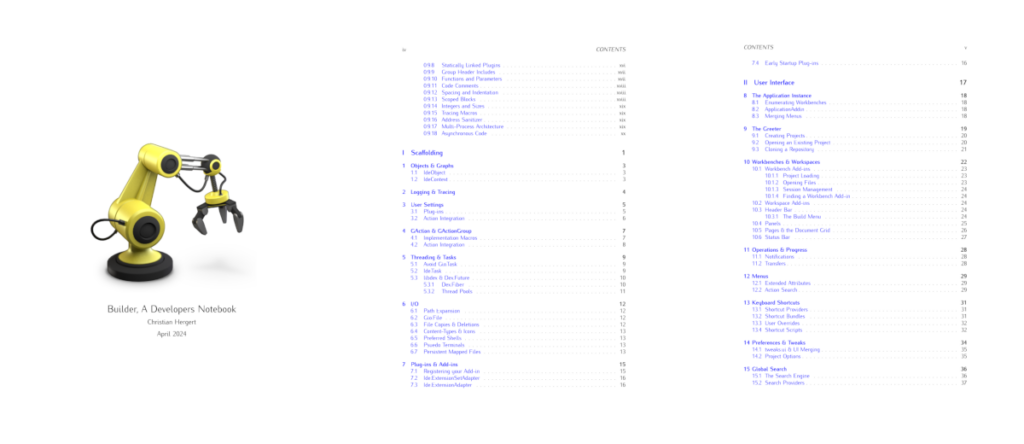
A preview of a few pages of the book including the cover, and two pages from the table of contents.

Here is a sort of engineers journal (PDF) in book form about how the components fit together. The writing tries to be brief and to the point. You can always reference the source code for finer points.

There is so much more that can happen with Builder if we have regular contributors and subsystem maintainers.

We still need to bring back a new designer. We still need real strong git commit integration. We still need a physical device simulator to go with our architecture emulator. Our debugger API could use data visualizers and support for the debug-adapter-protocol. Container integration has a long tail of desired features.

You get the idea.

Lots of exciting features will happen once people dive into the code-base to learn more. Hopefully this book helps you along that journey.

Builder of Things

Sometimes I build stuff other than software and this is a post about that.

My wife and I had to postpone our honeymoon for a couple years due to COVID. Last spring we were able to take a trip to Thailand and really enjoyed it. So much so that when we got back we had a desire recreate that sort of relaxed urban yet tropical feel we enjoyed so much in various cities.

We don’t have a lot of extra space at our house but we did have some in the back which was vacated by recently fell Elm which were diseased.

I’m not one to shy away from projects I’ve never done before so why not build a deck and pergola to fill out that space for entertaining and hacking?

The first step was to even the grade. When we bought the house it was already sloped but the grinding of Elm tree trunks added another layer on top of that.
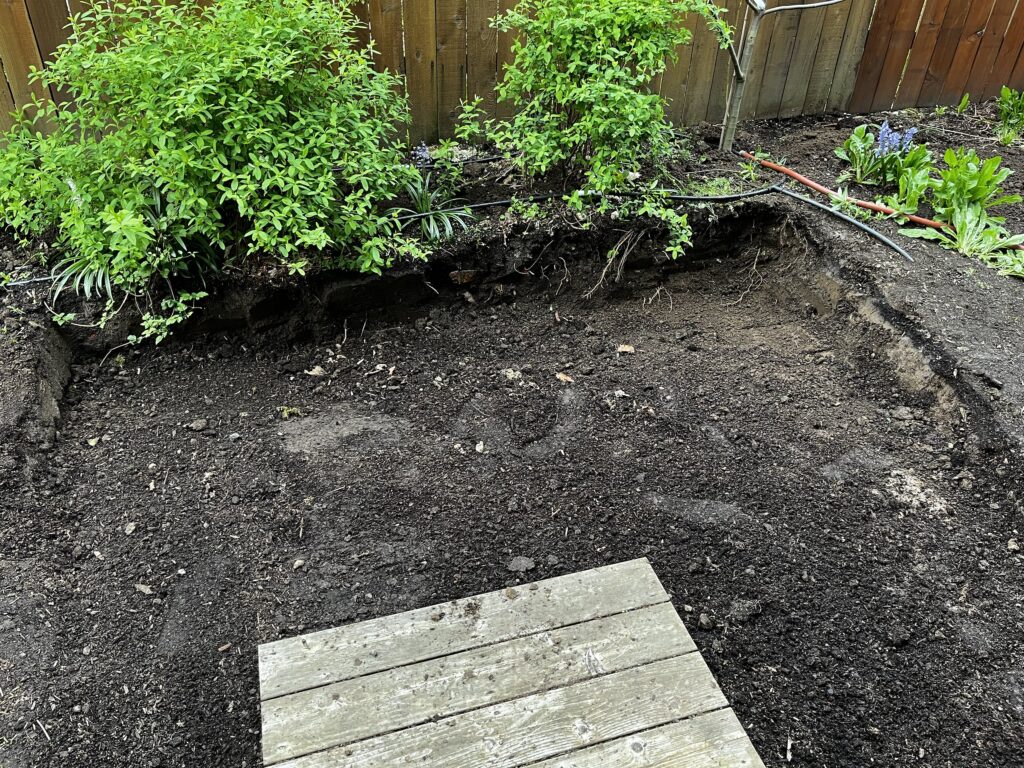
That is a lot of work but to make something 8’×20′ we need to clear a lot more than this. Only to be made worse by root after root of dead Elm tree remnants. Pick axe and sweat.

That’s more like it.
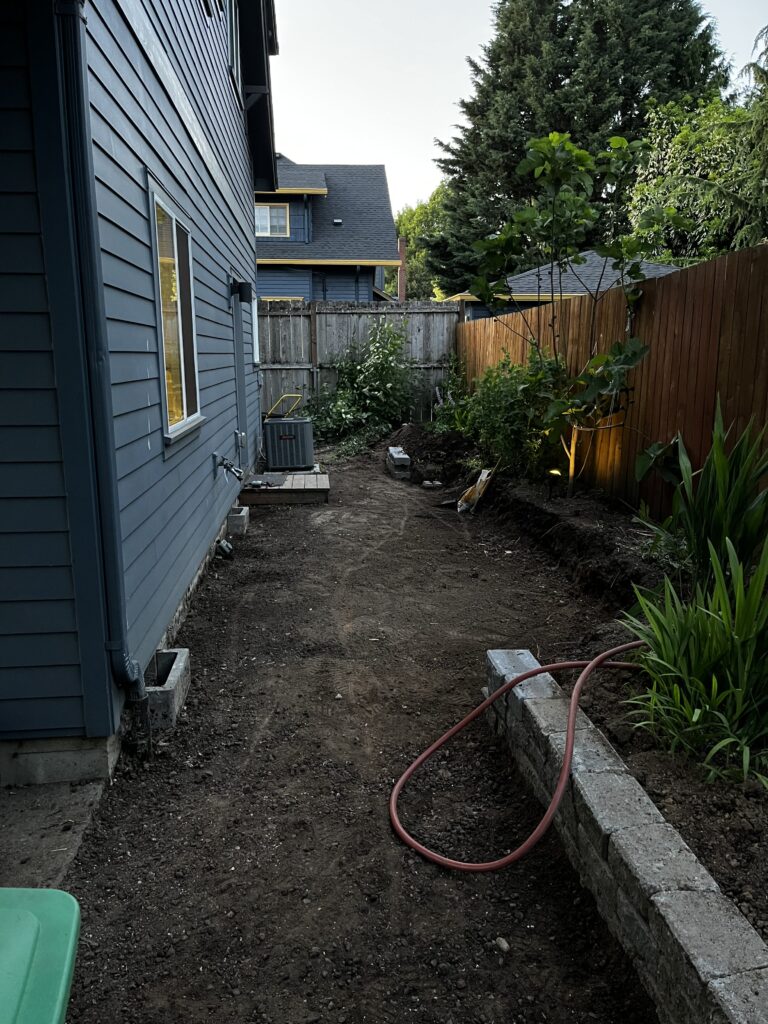
We don’t have much of a frost line here so you don’t need to do the whole concrete-pylon thing for the deck and integrated pergola. But what we do need to do is ensure that we have a retaining wall to keep wet ground from touching the cedar for the deck.
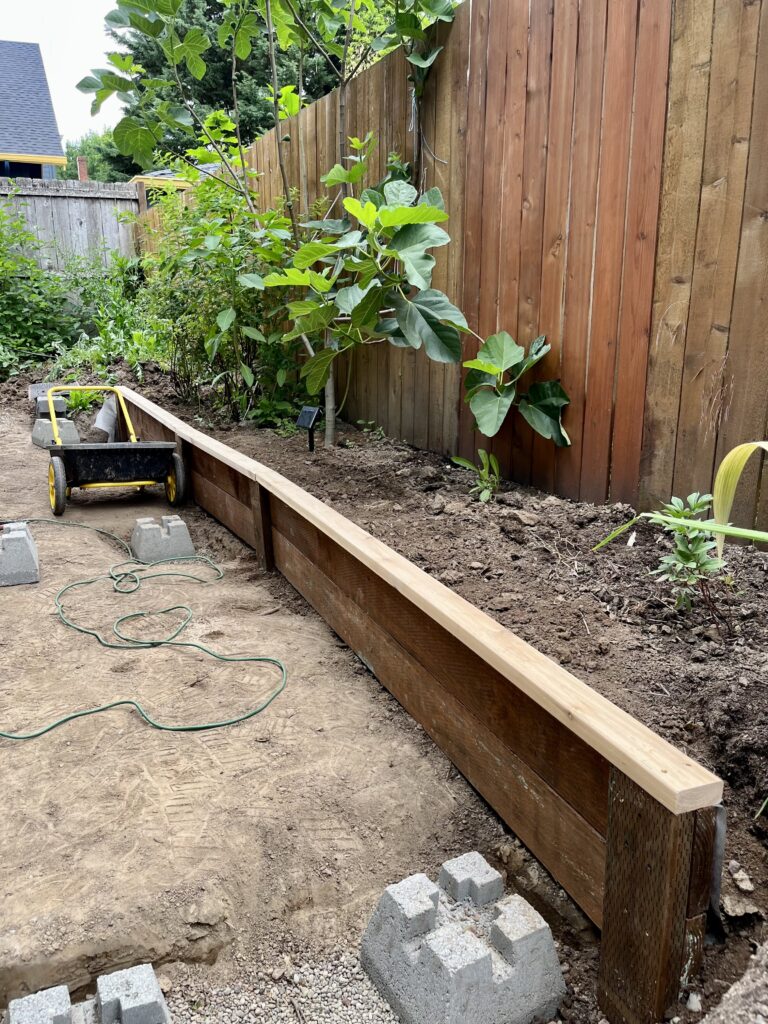
The 2×4 cedar topper is mostly just there to match what will be the cedar floor of the deck.

A bunch of gravel of various grades under the cinders create something stable that drains water beneath the cedar 4×4 which will be our columns.
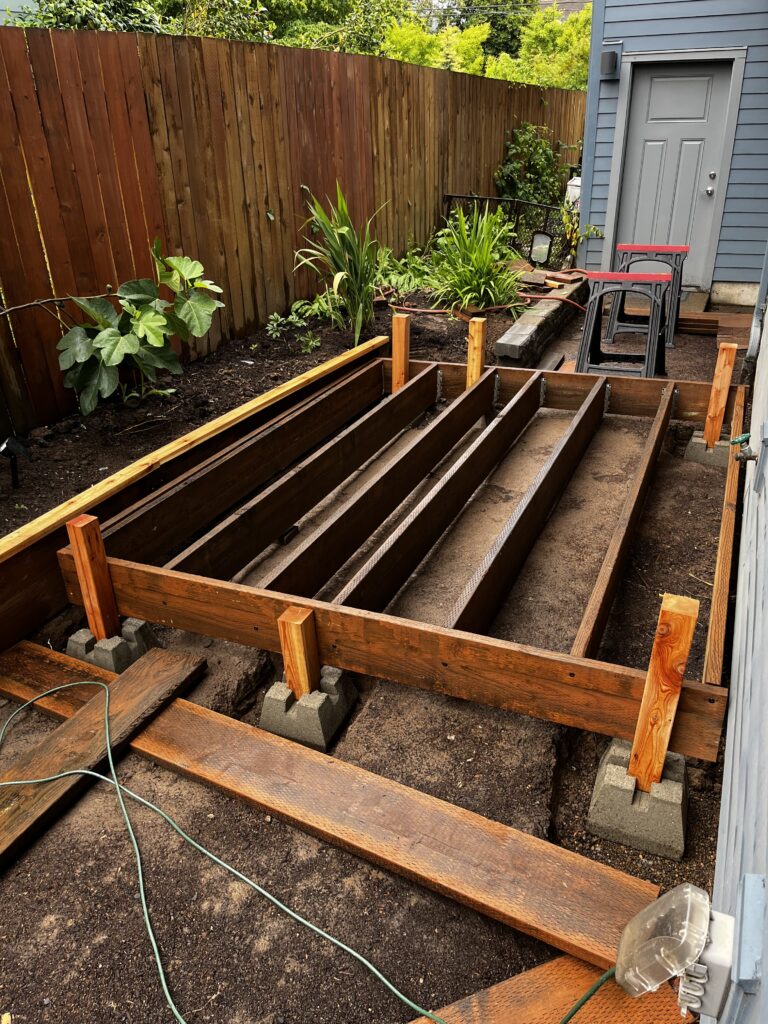
This is built as two 8’×10′ sections which are connected. That makes the math much easier in my head but also easier to source good wood. Above you see the rim and floor joists for the first side with the blocking yet to be done.

I lucked out that the cedar supplier gave me 12′ 4×4s instead of the requested 10′. That gave me 2′ extra to use when framing without having to first get the whole 10′ columns leveled. Later one we’ll take them out one-by-one and replace them with the columns.
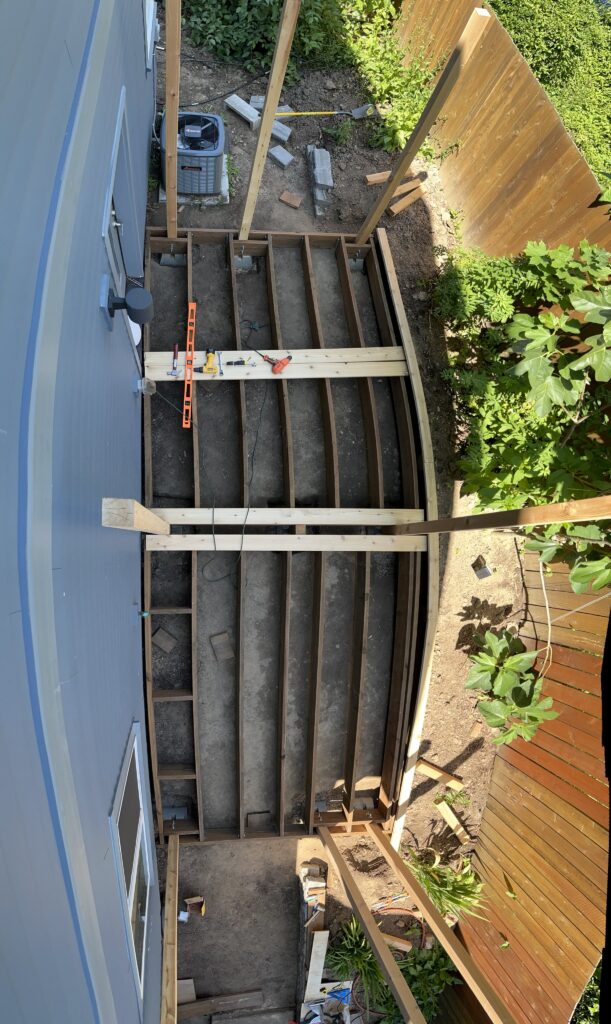
Now we have the columns in place and the whole thing leveled. Blocking has started and will get completed before adding the floor boards. I ended up using screws at an angle from the rounded corners of the ceder floor boards using “camo hidden fasteners”. After seeing how they handled the winter that was definitely the right decision.

Thankfully I had help from my wife and emeritus GNOMie Cosimo with all this.
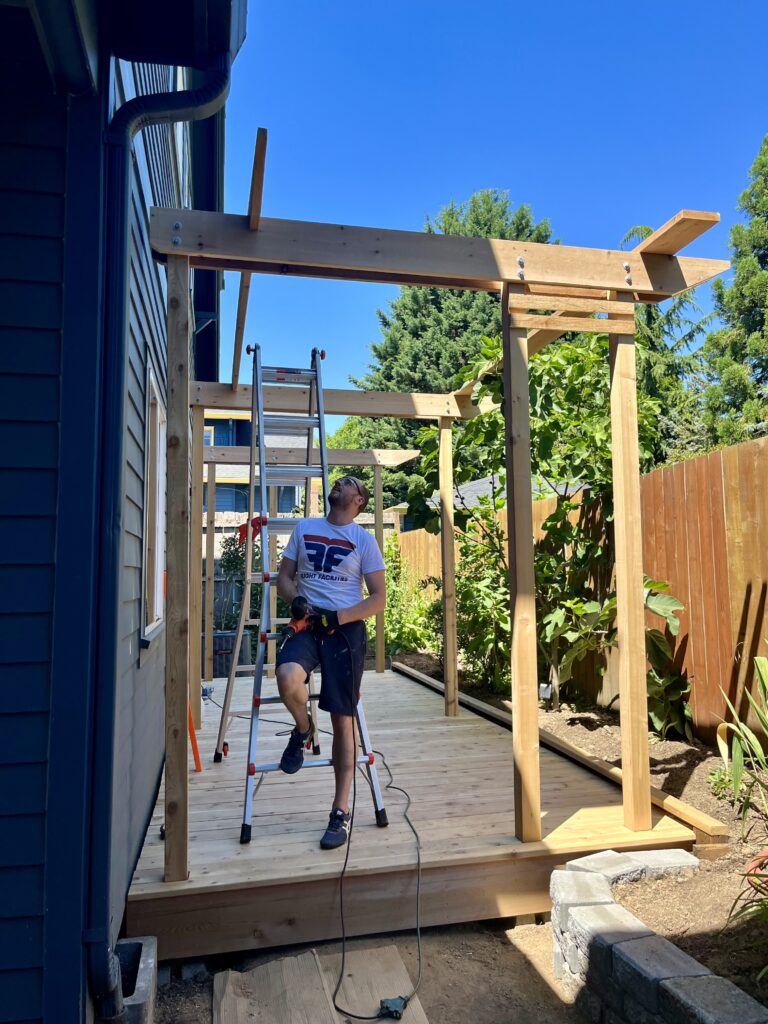
Now we have all the floor boards on. The cedar appearance board is tacked on the edge of the rim joist to hide the pressure treated lumber. The beams have been connected at the top of the columns. The start of a privacy wall is in place to see how it will fit together. Next up, all those rafters which I used some simple angle cuts and a multi-tool to extract pockets to interference-fit over the beams.
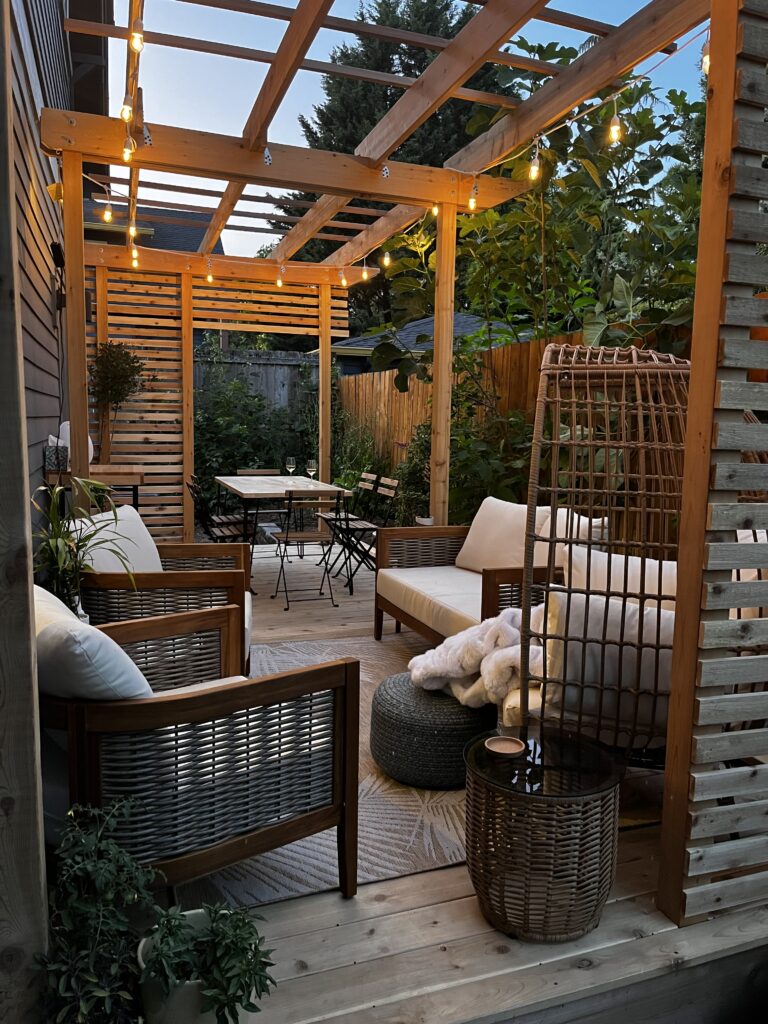
Lastly my wife did her design magic after gathering all the outdoor furniture together.

This year I have jasmine and honeysuckle doing it’s thing to hopefully start getting some of this pergola covered with leaves and flowers by summer. I also extended the privacy wall a bit more since this picture to have a lattice for the vines to climb.

That’s it!
Refreshed Search

Builder got a refreshed search popover. It’s not even a GtkPopover anymore and instead uses AdwDialog.

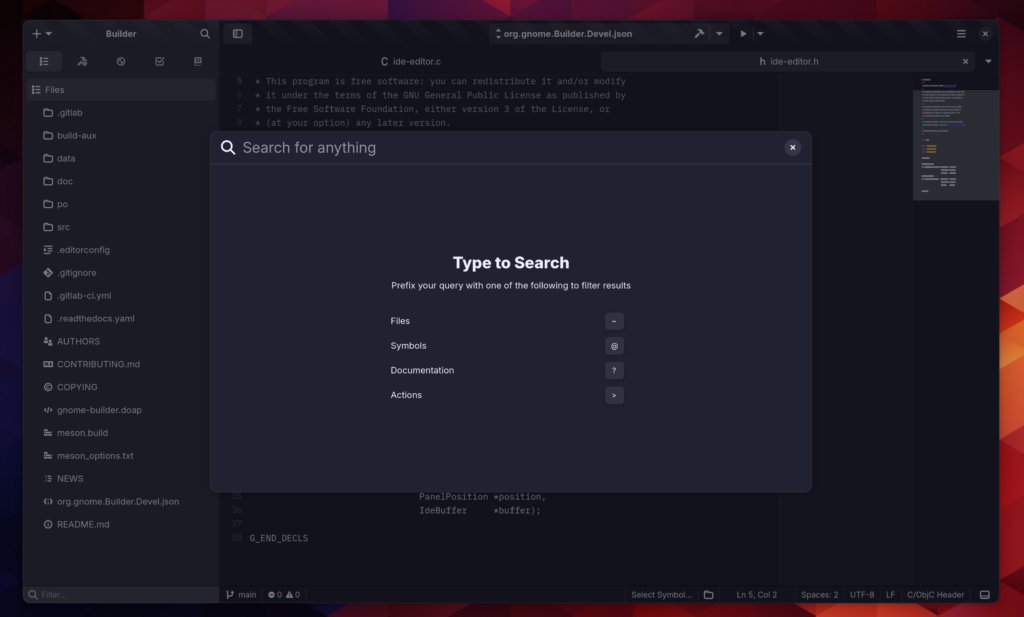
You can use some of the typical “prefixes” to filter search results or do nothing and get everything mixed together.

A screenshot of the search popover displaying a list of filters such as @ to display symbols or ~ to filter only filenames.

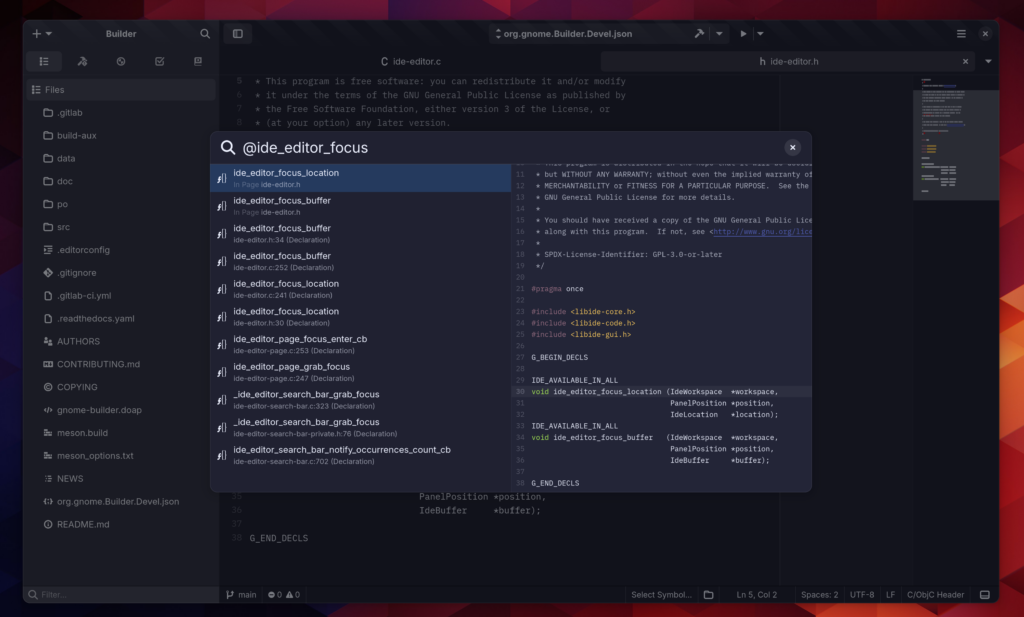
For example, prefix the search with @ to limit the results to indexed symbol names. Quick preview is still presented side-by-side.

A popover is displayed filtering results to symbols using the @ prefix.

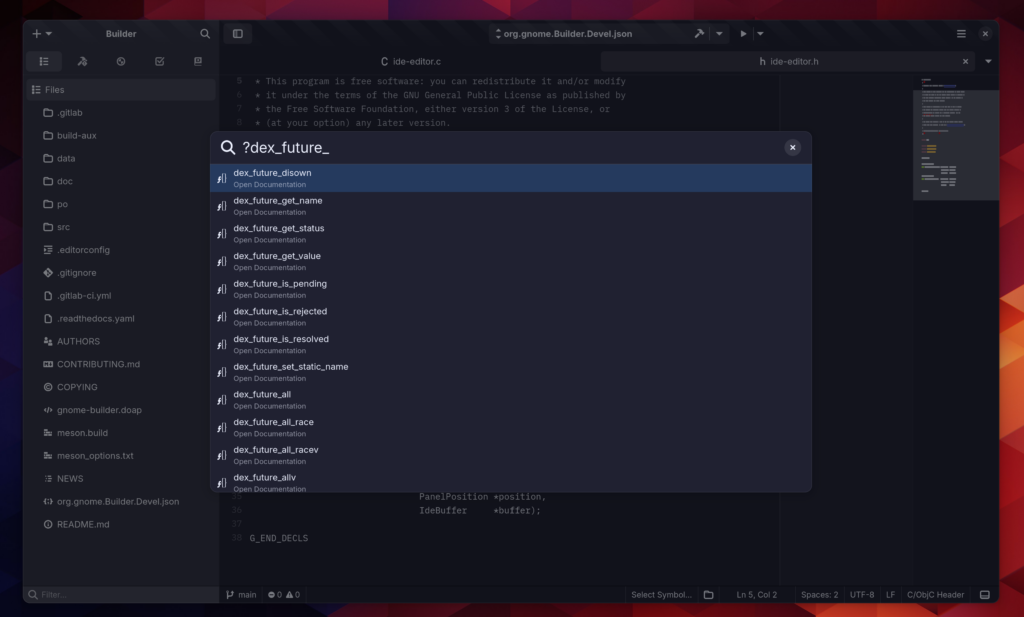
You can also search for documentation now if jumping to the search panel is too much work. Just prefix with ? and you’re ready to go.

The search popover displaying a list of documentation options from DexFuture.

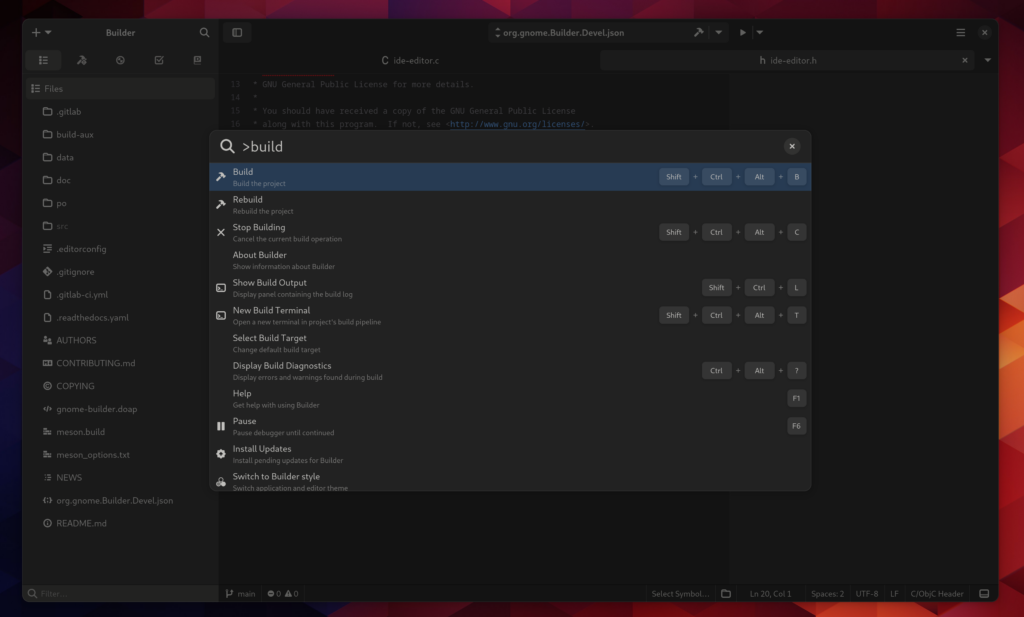
Sometimes it can be handy to run various build actions using the search popover as well. Many of the menu items are searchable. Just prefix the search query with >.

The search popover showing a number of menu items and their action description along with associated keyboard shortcuts.

Enjoy!

Documentation in Builder

A long time ago we had Devhelp integrated in Builder.

It got lost in the GTK 4 port because there was no GTK 4 version of Devhelp. Additionally, it didn’t handle the concept of SDKs at all. We went through great lengths in Builder to try to copy them around so libdevhelp could pick them up (with marginal success).

Builder now has code which can index various types of SDKs including Flatpak, the host system, and jhbuild. It does so automatically at startup into a SQLite database. That allows us to compare etags at startup and avoid a whole lot of extra work. It also serves as a convenient place to implement search going forward.

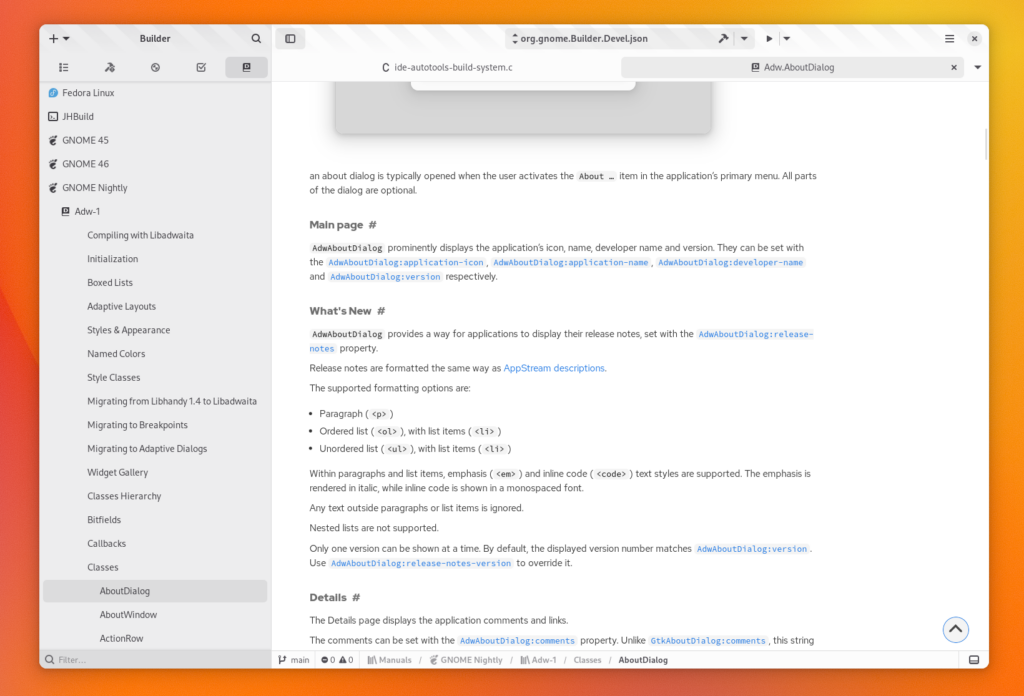
It looks like this

A screenshot of Builder showing a panel on the left with a documentation tree and a page in the document grid containing the documentation contents as a WebKitWebView. Breadcrumbs are provided in a pathbar as part of the statusbar.

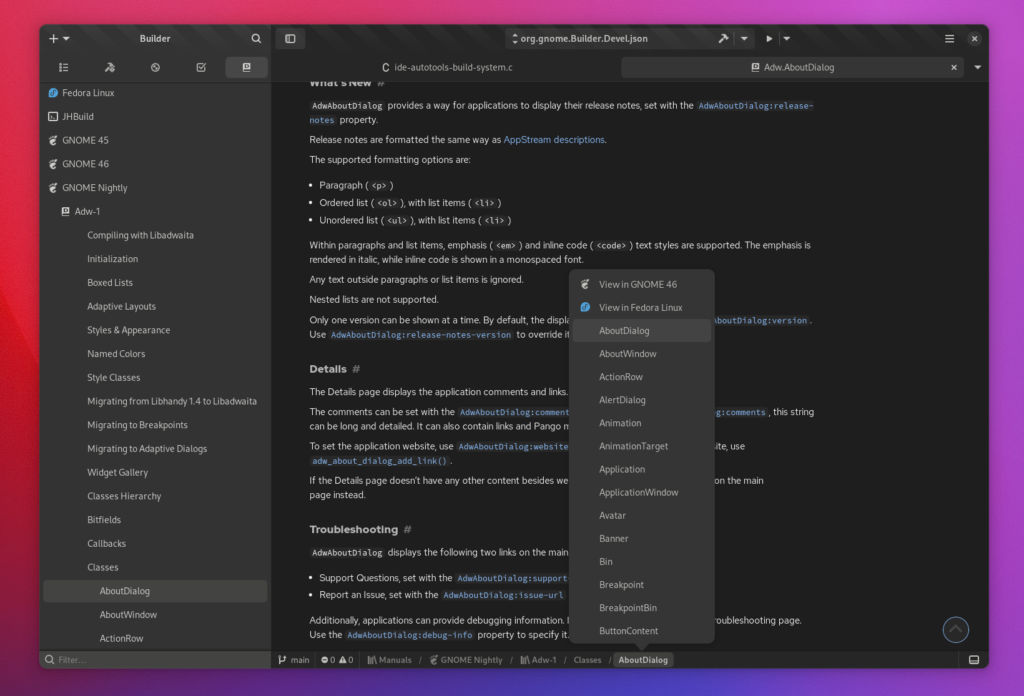
The path bar at the bottom provides a convenient way to navigate around without having to go back to the documentation tree. It looks like this

A screenshot of Builder showing the documentaiton panel and page with a popover open on a pathbar breadcrumb allowing to navigate to similar entries at that level.

It also works when you’re using Builder as a “Text Editor with Plugins” replacement (e.g. the editor workspace).

Custom Artifacts Directories

Since the inception of Builder, it has used $XDG_CACHE_DIR for many things like custom installation paths, flatpak-builder state directories, out-of-tree build directories, code indexes, and more.

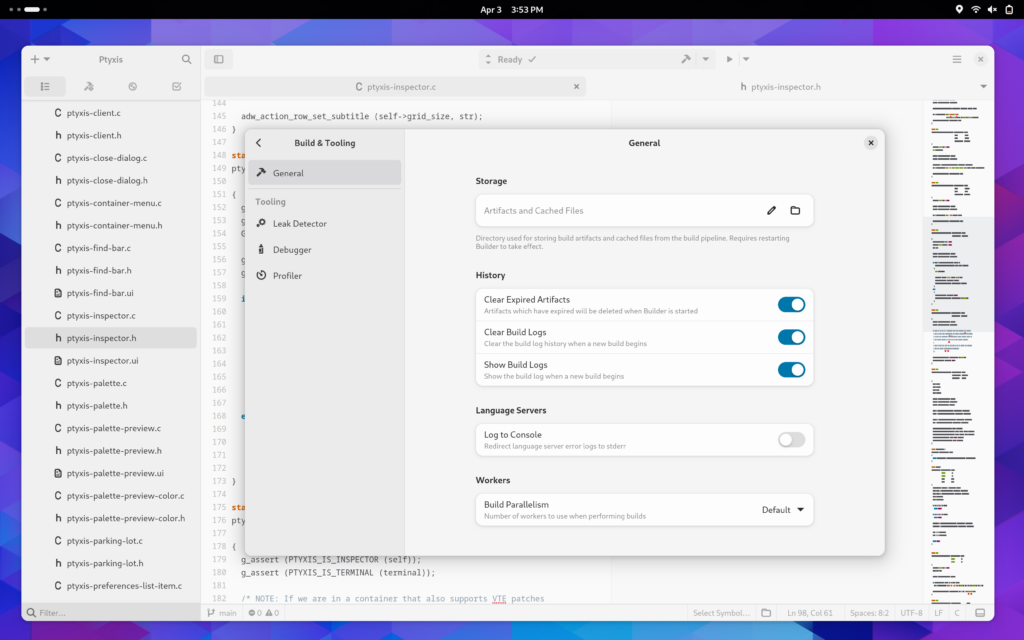
I finally got around to allowing for custom cache roots and now Builder will default to ~/Projects/.gnome-builder/. If you’ve set a custom projects directory then .gnome-builder within that will be used.

You may also change this value globally or per-project in Preferences and/or Project Settings.

A screenshot of the application preferences in the General panel of Build Tooling section. The first option is the build artifacts directory which may be set by the user.