I needed to install a server multiple times recently. Fully remotely, via the network. In this case, the machines stood at Hetzner, a relatively large German hoster with competitive prices. Once you buy a machine, they boot it into a rescue image that they deliver via PXE. You can log in and start an installer or do whatever you want with the machine.
The installation itself can be as easy as clicking a button in their Web interface. The manual install with their installer is almost as easily performed. You will get a minimal (Ubuntu) installation with the SSH keys or password of your choice deployed.
While having such an easy way to (re-)install the system is great, I’d rather want to have as much of my data encrypted as possible. I came up with a series of commands to execute in order to have an encrypted system at the end. I have put the “full” in the title in quotes, because I dislike the term “full disk encryption”. Mainly because it makes you believe that the disk will be fully encrypted, but it is not. Currently, you have to leave parts unencrypted in order to decrypt the rest. We probably don’t care so much about the confidentiality there, but we would like the contents of our boot partition to be somewhat integrity protected. Anyway, the following shows how I managed to install an Ubuntu with the root partition on LUKS and RAID.
Note: This procedure will disable your machine from booting on its own, because someone will need to unlock the root partition.
shred --size=1M /dev/sda* /dev/sdb*
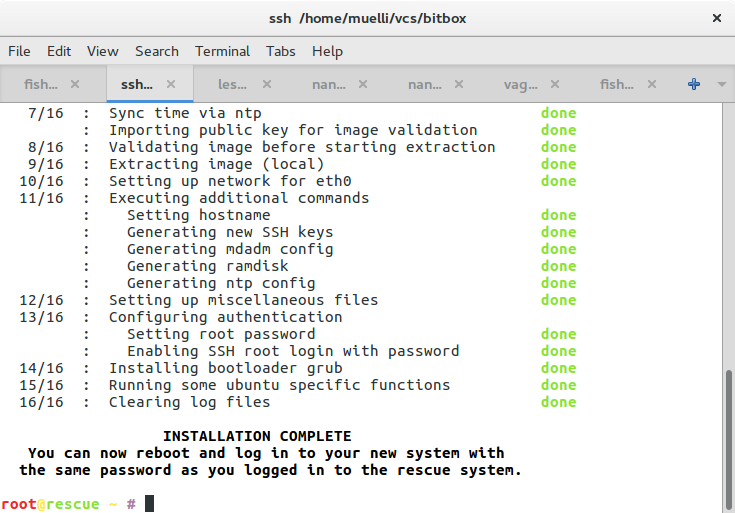
installimage -n bitbox -r yes -l 1 -p swap:swap:48G,/boot:ext3:1G,/mnt/disk:btrfs:128G,/:btrfs:all -K /root/.ssh/robot_user_keys -i /root/.oldroot/nfs/install/../images/Ubuntu-1604-xenial-64-minimal.tar.gz
## For some weird reason, Hetzner puts swap space in the RAID.
#mdadm --stop /dev/md0
#mdadm --remove /dev/md0
#mkswap /dev/sda1
#mkswap /dev/sdb1
mount /dev/md3 /mnt
btrfs subvolume snapshot -r /mnt/ /mnt/@root-initial-snapshot-ro
mkdir /tmp/disk
mount /dev/md2 /tmp/disk
btrfs send /mnt/@root-initial-snapshot-ro | btrfs receive -v /tmp/disk/
umount /mnt/
luksformat -t btrfs /dev/md3
cryptsetup luksOpen /dev/md3 cryptedmd3
mount /dev/mapper/cryptedmd3 /mnt/
btrfs send /tmp/disk/@root-initial-snapshot-ro | btrfs receive -v /mnt/
btrfs subvolume snapshot /mnt/@root-initial-snapshot-ro /mnt/@
btrfs subvolume create /mnt/@home
btrfs subvolume create /mnt/@var
btrfs subvolume create /mnt/@images
blkid -o export /dev/mapper/cryptedmd3 | grep UUID=
sed -i 's,.*md/3.*,,' /mnt/@/etc/fstab
echo /dev/mapper/cryptedmd3 / btrfs defaults,subvol=@,noatime,compress=lzo 0 0 | tee -a /mnt/@/etc/fstab
echo /dev/mapper/cryptedmd3 /home btrfs defaults,subvol=@home,compress=lzo,relatime,nodiratime 0 0 | tee -a /mnt/@/etc/fstab
umount /mnt/
mount /dev/mapper/cryptedmd3 -osubvol=@ /mnt/
mount /dev/md1 /mnt/boot
mv /mnt//run/lock /tmp/
chroot-prepare /mnt/; chroot /mnt
passwd
echo "termcapinfo xterm* ti@:te@" | tee -a /etc/screenrc
sed "s/UMASK[[:space:]]\+022/UMASK 027/" -i /etc/login.defs
#echo install floppy /bin/false | tee -a /etc/modprobe.d/blacklist
#echo "blacklist floppy" | tee /etc/modprobe.d/blacklist-floppy.conf
# Hrm. for some reason, even with crypttab present, update-initramfs does not include cryptsetup in the initrd except when we force it:
# https://bugs.launchpad.net/ubuntu/+source/cryptsetup/+bug/1256730
# echo "export CRYPTSETUP=y" | tee /usr/share/initramfs-tools/conf-hooks.d/forcecryptsetup
echo cryptedmd3 $(blkid -o export /dev/md3 | grep UUID=) none luks | tee -a /etc/crypttab
# echo swap /dev/md0 /dev/urandom swap,cipher=aes-cbc-essiv:sha256 | tee -a /etc/crypttab
apt-get update
apt-get install -y cryptsetup
apt-get install -y busybox dropbear
mkdir -p /etc/initramfs-tools/root/.ssh/
chmod ug=rwX,o= /etc/initramfs-tools/root/.ssh/
dropbearkey -t rsa -f /etc/initramfs-tools/root/.ssh/id_rsa.dropbear
/usr/lib/dropbear/dropbearconvert dropbear openssh \
/etc/initramfs-tools/root/.ssh/id_rsa.dropbear \
/etc/initramfs-tools/root/.ssh/id_rsa
dropbearkey -y -f /etc/initramfs-tools/root/.ssh/id_rsa.dropbear | \
grep "^ssh-rsa " > /etc/initramfs-tools/root/.ssh/id_rsa.pub
cat /etc/initramfs-tools/root/.ssh/id_rsa.pub >> /etc/initramfs-tools/root/.ssh/authorized_keys
cat /etc/initramfs-tools/root/.ssh/id_rsa
update-initramfs -u -k all
update-grub2
exit
umount -l /mnt
mount /dev/mapper/cryptedmd3 /mnt/
btrfs subvolume snapshot -r /mnt/@ /mnt/@root-after-install
umount -l /mnt
Let’s walk through it.
shred --size=1M /dev/sda* /dev/sdb*
I was under the impression that results are a bit more deterministic if I blow away the partition table before starting. This is probably optional.
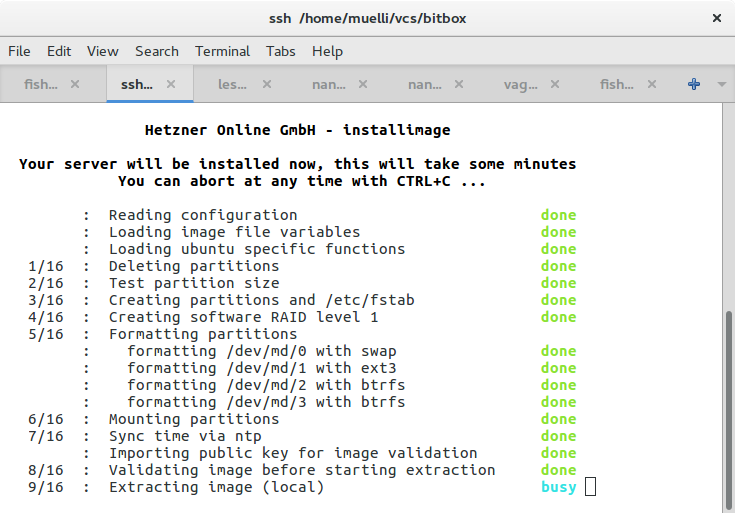
installimage -n somehostname -r yes -l 1 -p swap:swap:48G,/boot:ext3:1G,/mnt/disk:btrfs:128G,/:btrfs:all -K /root/.ssh/robot_user_keys -i /root/.oldroot/nfs/install/../images/Ubuntu-1604-xenial-64-minimal.tar.gz
This is Hetzner’s install script. You can look at the script here. It’s setting up some hostname, a level 1 RAID, some partitions (btrfs), and SSH keys. Note that my intention is to use dm-raid here and not btrfs raid, mainly because I trust the former more. Also, last time I checked, btrfs’ raid would not perform well, because it used the PID to determine which disk to hit.
mdadm --stop /dev/md0

mdadm --remove /dev/md0

mkswap /dev/sda1

mkswap /dev/sdb1
If you don’t want your swap space to be in the RAID, remove the array and reformat the partitions. I was told that there are instances in which it makes sense to have a raided swap. I guess it depends on what you want to achieve…
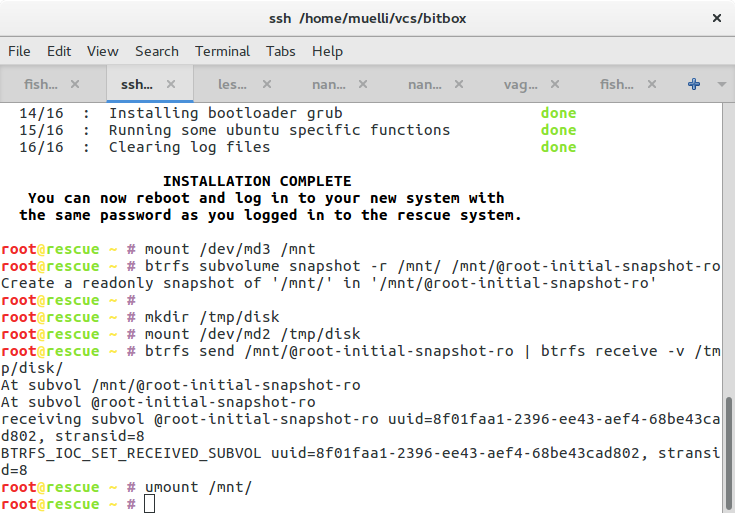
mount /dev/md3 /mnt

btrfs subvolume snapshot -r /mnt/ /mnt/@root-initial-snapshot-ro
mkdir /tmp/disk
mount /dev/md2 /tmp/disk
btrfs send /mnt/@root-initial-snapshot-ro | btrfs receive -v /tmp/disk/
umount /mnt/
Now we first snapshot the freshly installed image not only in case anything breaks and we need to restore, but also we need to copy our data off, set LUKS up, and copy the data back. We could also try some in-place trickery, but it would require more scripts and magic dust.
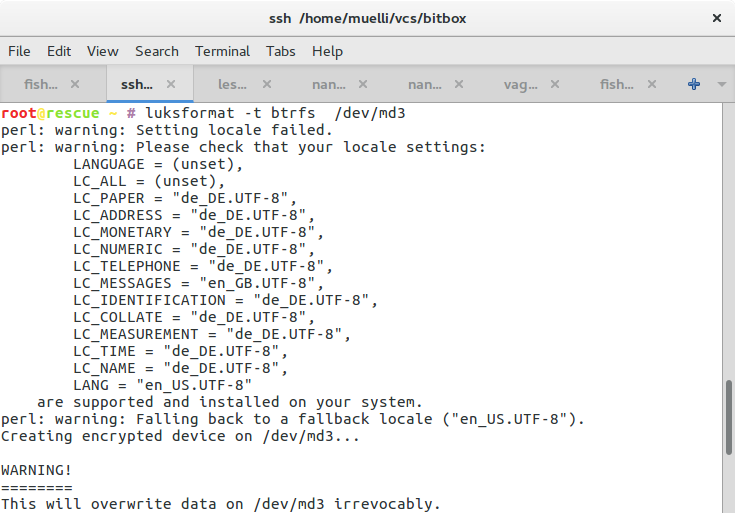
luksformat -t btrfs  /dev/md3

cryptsetup luksOpen /dev/md3 cryptedmd3

mount /dev/mapper/cryptedmd3  /mnt/
Here we set the newly encrypted drive up. Remember your passphrase. You will need it as often as you want to reboot the machine. You could think of using pwgen (or similar) to produce a very very long password and save it encryptedly on a machine that you will use when babysitting the boot of the server.
btrfs send /tmp/disk/@root-initial-snapshot-ro | btrfs receive -v /mnt/

btrfs subvolume snapshot /mnt/@root-initial-snapshot-ro /mnt/@
Do not, I repeat, do NOT use btrfs add because the btrfs driver had a bug. The rescue image may use a fixed driver now, but be warned. Unfortunately, I forgot the details, but it involved the superblock being confused about the number of devices used for the array. I needed to re-set the number of devices before systemd would be happy about booting the machine.
btrfs subvolume create /mnt/@home

btrfs subvolume create /mnt/@var

btrfs subvolume create /mnt/@images
We create some volumes at our discretion. It’s up to you how you want to partition your device. My intention is to be able to backup the home directories without also backing up the system files. The images subvolume might become a non-COW storage for virtual machine images.

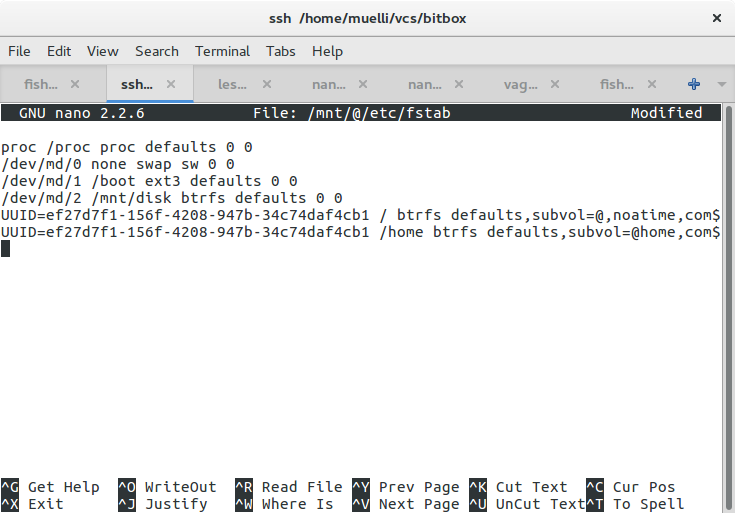
blkid -o export /dev/mapper/cryptedmd3  | grep UUID=

sed -i  's,.*md/3.*,,'   /mnt/@/etc/fstab

echo  /dev/mapper/cryptedmd3   /     btrfs defaults,subvol=@,noatime,compress=lzo  0  0  | tee -a /mnt/@/etc/fstab

echo  /dev/mapper/cryptedmd3   /home btrfs defaults,subvol=@home,compress=lzo,relatime,nodiratime  0  0  | tee -a /mnt/@/etc/fstab
We need to tell the system where to find our root partition. You should probably use the UUID= notation for identifying the device, but I used the device path here, because I wanted to eliminate a certain class of errors when trying to make it work. Because of the btrfs bug mentioned above I had to find out why systemd wouldn’t mount the root partition. It was a painful process with very little help from debugging or logging output. Anyway, I wanted to make sure that systemd attempts to take exactly that device and not something that might have changed.
Let me state the problem again: The initrd successfully mounted the root partition and handed control over to systemd. Systemd then wanted to ensure that the root partition is mounted. Due to the bug mentioned above it thought the root partition was not ready so it was stuck on mounting the root partition. Despite systemd itself being loaded from that very partition. Very confusing. And I found it surprising to be unable to tell systemd to start openssh as early as possible. There are a few discussions on the Internet but I couldn’t find any satisfying solution. Is it that uncommon to want the emergency mode to spawn an SSHd in order to be able to investigate the situation?
umount /mnt/

mount /dev/mapper/cryptedmd3 -osubvol=@ /mnt/
mount /dev/md1 /mnt/boot
mv /mnt//run/lock /tmp/
chroot-prepare /mnt/; chroot /mnt
Now we mount the actual root partition of our new system and enter its environment. We need to move the /run/lock directory out of the way to make chroot-prepare happy.
passwd
We start by creating a password for the root user, just in case.
echo  "termcapinfo xterm* ti@:te@" | tee -a /etc/screenrc

sed "s/UMASK[[:space:]]\+022/UMASK   027/" -i /etc/login.defs

#echo   install floppy /bin/false  | tee -a    /etc/modprobe.d/blacklist

#echo "blacklist floppy" | tee /etc/modprobe.d/blacklist-floppy.conf
Adjust some of the configuration to your liking. I want to be able to scroll in my screen sessions and I think having a more restrictive umask by default is good.
echo "export CRYPTSETUP=y" | tee /usr/share/initramfs-tools/conf-hooks.d/forcecryptsetup
Unless bug 1256730 is resolved, you might want to make sure that mkinitramfs includes everything that is needed in order to decrypt your partition. Please scroll down a little bit to check how to find out whether cryptsetup is indeed in your initramdisk.
echo   cryptedmd3 $(blkid -o export /dev/md3  | grep UUID=) none luks     | tee  -a  /etc/crypttab

# echo   swap   /dev/md0   /dev/urandom   swap,cipher=aes-cbc-essiv:sha256  | tee  -a  /etc/crypttab
In order for the initramdisk to know where to find which devices, we populate /etc/crypttab with the name of our desired mapping, its source, and some options.
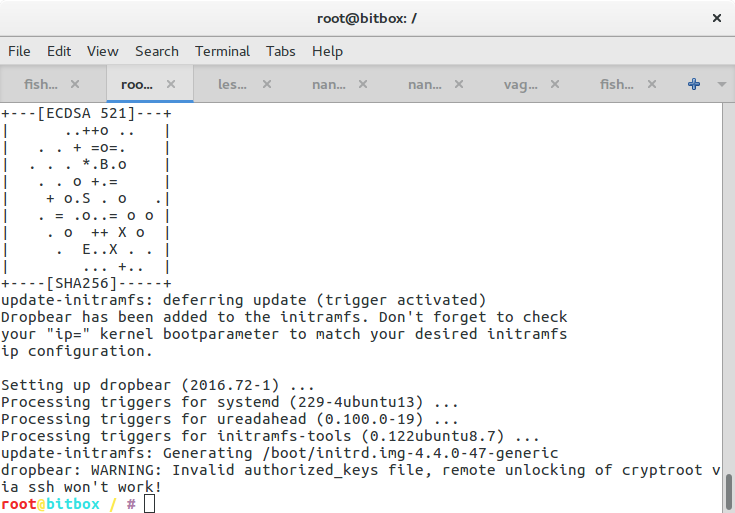
apt-get update

apt-get install -y cryptsetup

apt-get install -y busybox dropbear
Now, in order for the boot process to be able to decrypt our encrypted disk, we need to have the cryptsetup package installed. We also install busybox and dropbear to be able to log into the boot process via SSH. The installation should print you some warnings or hints as to how to further proceed in order to be able to decrypt your disk during the boot process. You will probably find some more information in /usr/share/doc/cryptsetup/README.remote.gz.
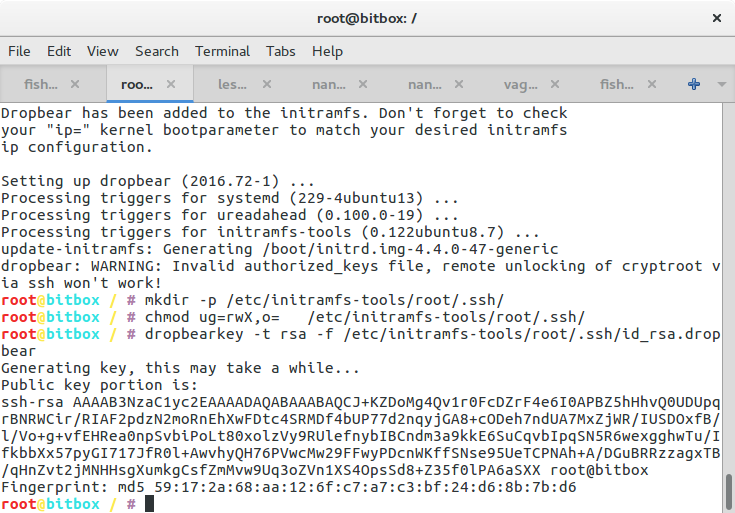
mkdir -p /etc/initramfs-tools/root/.ssh/

chmod ug=rwX,o=   /etc/initramfs-tools/root/.ssh/

dropbearkey -t rsa -f /etc/initramfs-tools/root/.ssh/id_rsa.dropbear
/usr/lib/dropbear/dropbearconvert dropbear openssh \
/etc/initramfs-tools/root/.ssh/id_rsa.dropbear \
/etc/initramfs-tools/root/.ssh/id_rsa
dropbearkey -y -f /etc/initramfs-tools/root/.ssh/id_rsa.dropbear | \
grep "^ssh-rsa " > /etc/initramfs-tools/root/.ssh/id_rsa.pub
cat /etc/initramfs-tools/root/.ssh/id_rsa.pub >> /etc/initramfs-tools/root/.ssh/authorized_keys
cat /etc/initramfs-tools/root/.ssh/id_rsa
Essentially, we generate a SSH keypair, convert it for use with openssh, leave the public portion in the initramdisk so that we can authenticate, and print out the private part which you better save on the machine that you want to use to unlock the server.
update-initramfs -u -k all

update-grub2
Now we need to regenerate the initramdisk so that it includes all the tools and scripts to be able decrypt the device. We also need to update the boot loader so that includes the necessary Linux parameters for finding the root partition.
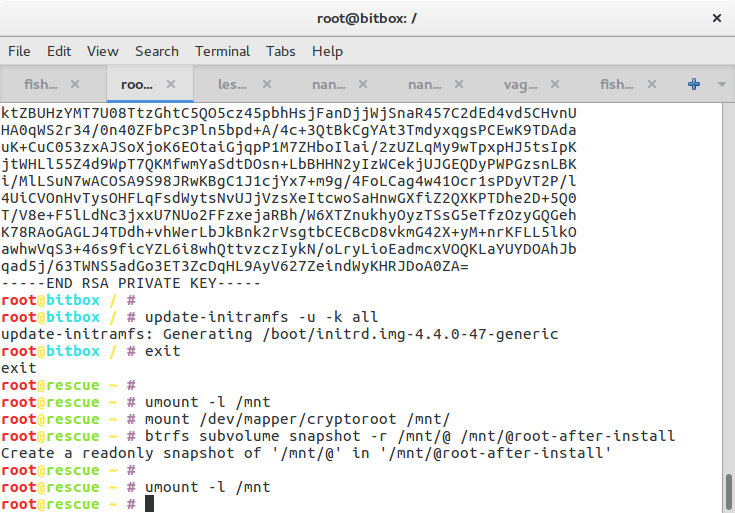
exit
umount -l /mnt
mount /dev/mapper/cryptedmd3 /mnt/
btrfs subvolume snapshot -r /mnt/@ /mnt/@root-after-install
umount -l /mnt
we leave the chroot and take a snapshot of the modified system just in case… You might now think about whether you want your boot and swap parition to be in a RAID and act accordingly. Then you can try to reboot your system. You should be able to SSH into the machine with the private key you hopefully saved. Maybe you use a small script like this:
cat ~/.server_boot_secret | ssh -o UserKnownHostsFile=~/.ssh/server-boot.known -i ~/.ssh/id_server_boot root@server "cat - >/lib/cryptsetup/passfifo"
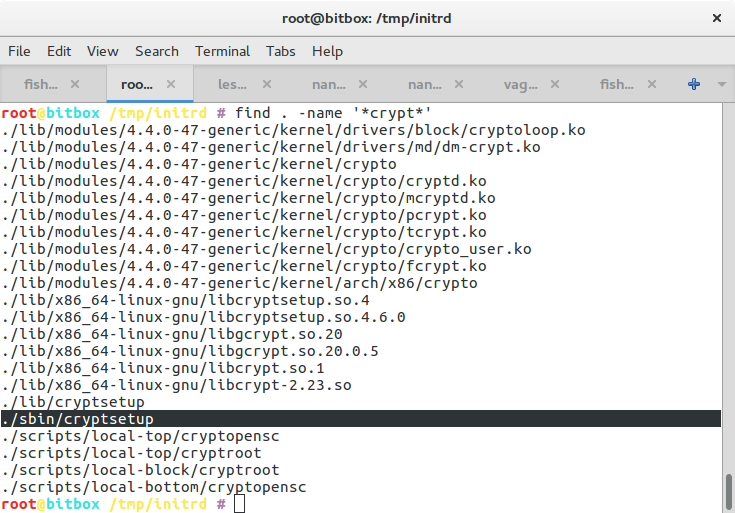
If that does not work so well, double check whether the initramdisk contains everything necessary to decrypt the device. I used something like
zcat /boot/initrd.img-4.4.0-47-generic  > /tmp/inird.cpio

mkdir /tmp/initrd

cd /tmp/initrd

cpio -idmv < ../inird.cpio

find . -name '*crypt*'
If there is no cryptsetup binary, something went wrong. Double check the paragraph above about forcing mkinitramfs to include cryptsetup.
With these instructions, I was able to install a new machine with an encrypted root partition within a few minutes. I hope you will be able to as well. Let me know if you think anything needs to be adapted to make it work with more modern version of either Ubuntu or the Hetzner install script.
Update: Ivan F. Villanueva B. from wikical sent this:
I have followed the instructions but installing Ubuntu 18.04 bionic by using::
installimage -n myhostname -r yes -l 1 -p swap:swap:32G,/boot:ext3:1G,/mnt/disk:btrfs:128G,/:btrfs: all -K /root/.ssh/robot_user_keys -i /root/.oldroot/nfs/install/../images/Ubuntu-1804-bionic-64-minimal. tar.gz
After the chroot command, the file /etc/resolv.conf were a symlink to a
non-existent file. I solved it by::rm /etc/resolv.conf
echo “8.8.8.8” > /etc/resolv.confAfter that, `apt update` works.
Recent versions of dropbear works differently. Before generating the
initramfs, you need to::cat /etc/initramfs-tools/root/.ssh/id_rsa.pub >> /etc/dropbear-initramfs/authorized_keys
See https://unix.stackexchange.com/q/411945
Also, ssh -o UserKnownHostsFile=~/.ssh/server-boot.known -i ~/.ssh/mykey root@5.9.78.44 “echo -ne \”mypassword\” >/lib/cryptsetup/passfifo”