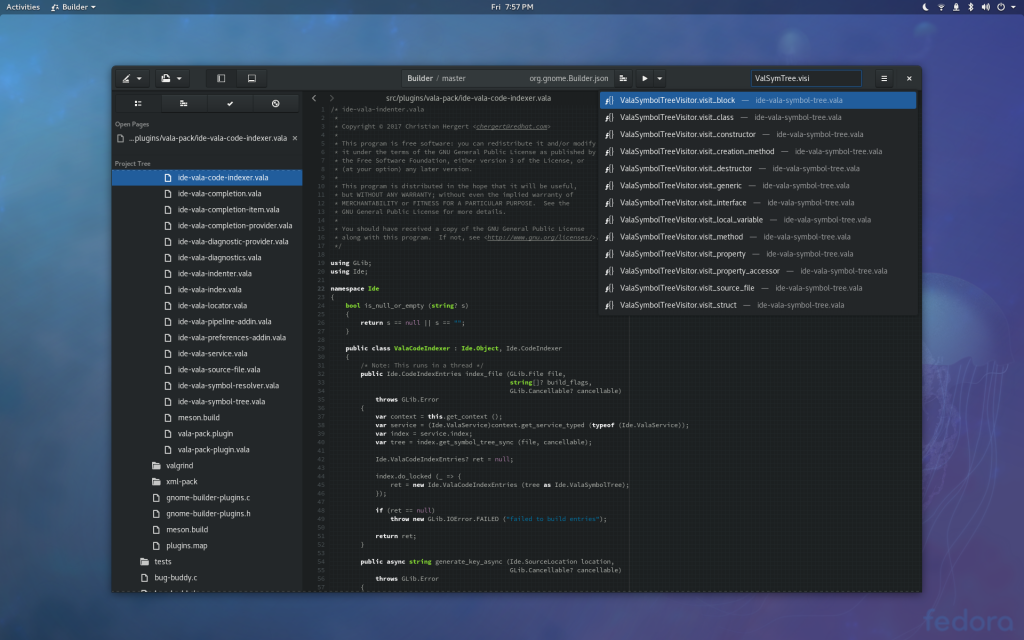
Exploring your application runtime

In Builder, we landed a new feature for 3.24 that allows you to create a new terminal inside the application runtime. If you’re building against your host system, then this is nothing special. If you’re building against jhbuild you’ll get a shell inside of that (but again, nothing really special).

However, if you’re building for a flatpak runtime, such as org.gnome.Platform, your shell will look completely different from your host system. Instead, it will be what the application sees at runtime. (Okay, it’s actually what it sees at build time, but the SDK is just the Platform with compiler bits, headers, pkg-config, and such).

  • ctrl+shift+t for a terminal on your host
  • ctrl+alt+shift+t for a terminal inside your application runtime

So here is an image of a shell in the host system on left and the runtime on the right. This makes it very convenient to figure out what your application is seeing during execution and audit the files you need to remove in your cleanup phase. Or maybe you just want to explore!

If you are not using Builder, you can explore a SDK or runtime with flatpak run org.gnome.Sdk. Additionally, if you’re interested in exactly what your application sees after you have packaged and installed it, try:

flatpak run --command=bash com.example.MyApp

Adding -d to the above will give you the SDK instead of the runtime. This is much closer to what Builder will give you.

flatpak run -d --command=bash com.example.MyApp

Flatpak at SCaLE 15x

A decade ago I lived on the west side of Los Angeles. One of my favorite conferences was Southern California Linux Expo. Much like Karen, this is the conference where I performed my first technical talk. It’s also where I met and became friends with great people like Jono, Ted, Jeff, the fantastic organizing staff, and so many more.

I was happy to come back again this year and talk about what I’ve been working on in GNOME. The combination of Flatpak and Builder (and Sysprof).

The event was live streamed on youtube, and you can watch it here. I expect the rooms to be cut and uploaded as individual talks but I don’t know the timeline for that. I’ll update this if/when I discover that so you can youtube-dl if you prefer.

State of the Builder

We are really starting to be able to do cool things with Builder these days. Just install our Builder Nightly and you can build plenty of GNOME apps.

I should note that Builder doesn’t yet have the ability to install your application but I intend for this to land before 3.24.

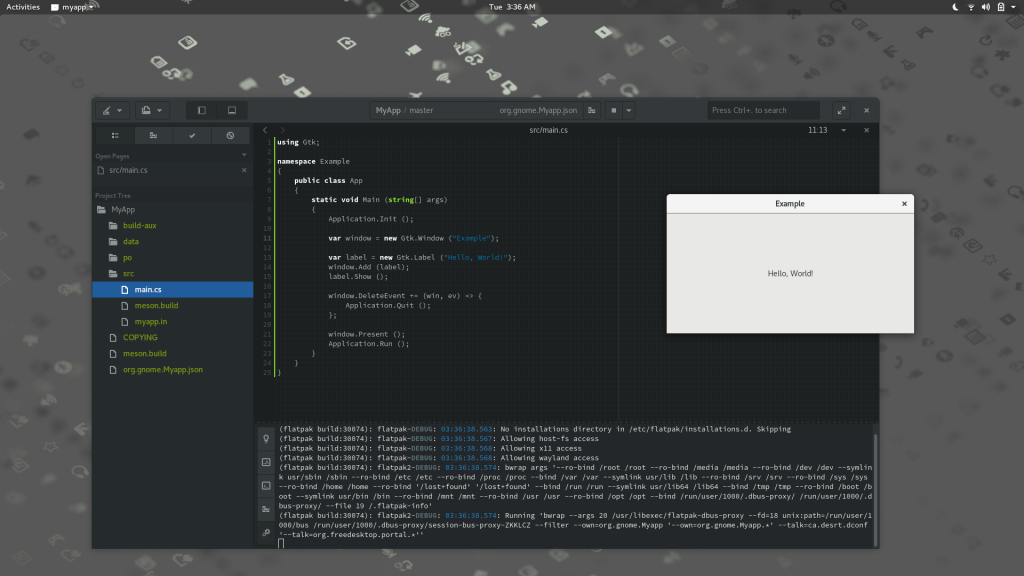
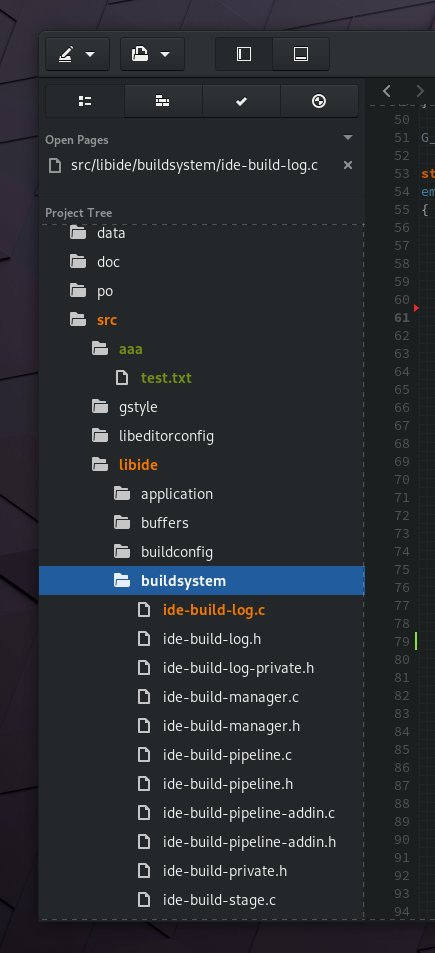
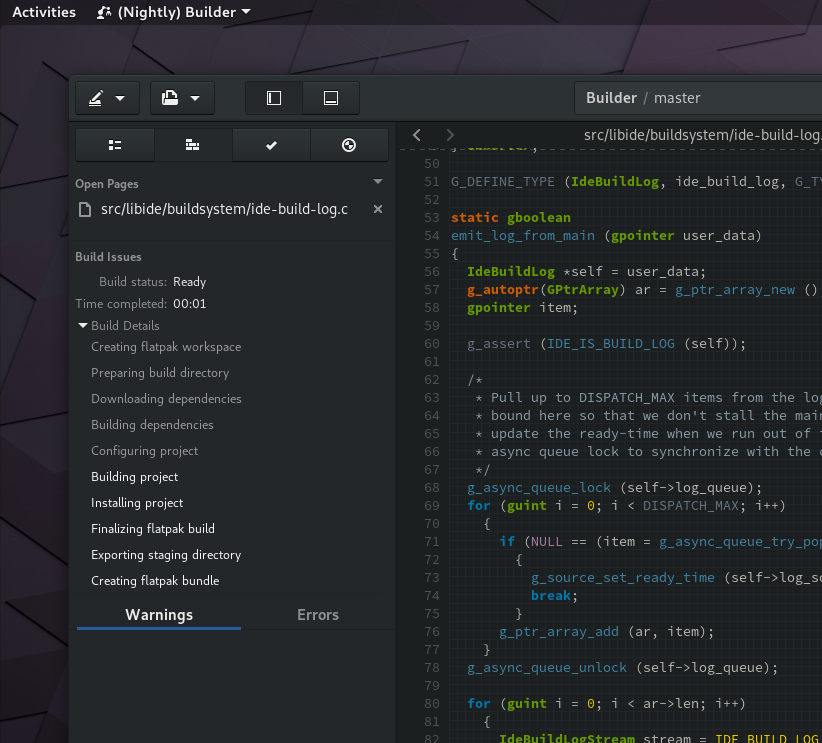
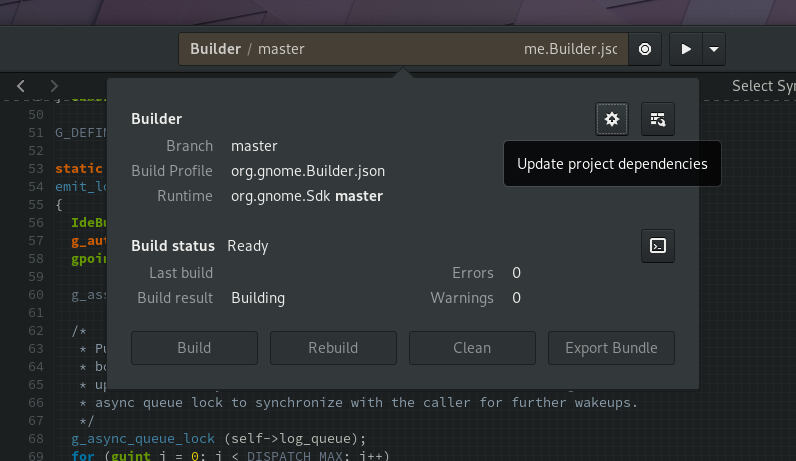
Here is a screenshot sequence of me using Builder installed from flatpak to build and test GNOME ToDo, also in flatpak.

Builder 3.24 Beta 2

Our next beta is out the door and ready for your testing. Please do me a solid and help us test and shake out bugs. It’s pretty easy to install these days.

flatpak install --user --from https://git.gnome.org/browse/gnome-apps-nightly/plain/gnome-builder.flatpakref
flatpak run org.gnome.Builder

More installation options can be found here.

Profiling Flatpak’d applications

One of the great powers of namespace APIs on Linux (mount namespaces, user namespaces, etc) is that you can create a new view into the world of your computer that is very different from the host. This can make traditional profiling tools difficult.

To begin with, we need to ensure that we have access to ptrace or perf infrastructure. Easy enough, just don’t drop those privileges before calling execve(). This is the --allow=devel option to flatpak run. But after that, we need to do the detailed phase of translating instruction pointers to a function name.

Generally, the translation between an instruction pointer and a function name requires looking up what file is mapped over the address. Then you open that file with an ELF reader and locate the file containing debug information (which may be the same file). Then open that file and locate what function contains that instruction pointer. (We subtract the beginning of the map from the instruction pointer to get a relative offset).

Now, here is the trouble with mount namespaces. The “path” of the map might be something like “/newroot/usr/lib/libgtk-3.so“. Of course, “/newroot/” doesn’t actually exist.

So… what to do.

Well, we can find information about the mounts in the process by looking at /proc/$pid/mountinfo. Just look for the longest common prefix to get the translation from the mount namespace into the host. One caveat though. The translated path is relative to the root of the partition mounted. So the next step is to locate the file-system mount on the host (via /proc/mounts).

If you put this all together, you can profile and extract symbols from applications running inside of containers.

Now, most applications aren’t going to ship debug symbols with them. But we’ll need those for proper symbol extraction. So if you install the .Debug variant of a Flatpak runtime (org.gnome.Sdk.Debug for example) then we can setup symbol resolution specifically for /usr/lib/debug. Builder now does this.

I’m not sure, but I think this makes Builder and Sysprof one of the first (if not the first) profiler on Linux to support symbol extraction while profiling containerized applications from outside the container.

I’ve only tested with Flatpak, but I don’t see why this code can’t work with other tooling using mount namespaces.

Valgrind Integration in Builder

I wanted a bit of a distraction this evening, so I put together a quick valgrind plugin. Just select “Run with Valgrind” from the drop down menu and it will make sure your program is run using the venerable valgrind.

If valgrind isn’t available in your runtime (host, jhbuild, flatpak, etc) you wont see the menu item. But thankfully the org.gnome.Sdk runtime we use to build GNOME apps has it, so for many of you it should Just Work™.

Builder’s Build Pipeline

One of the core features of Builder is, well, building. So we need to provide the best experience we can. That means we need wide support for build systems and languages. How we get from source code to a product can vary in a multitude of ways.

For example, you might need to alter how you launch programs to run inside a container. You might need access to headers that only exist in the SDK and not the application runtime. You might even need to download or build dependencies for your project at a given point. Furthermore, this could all change based on what plugins you’ve chosen to enable in your Builder environment.

When I set out to create Builder, I knew that I wouldn’t be able to see all the possibilities that Builder needs to handle. So I explicitly avoided designing an abstract solution until I understood the problem better. But I think we understand the problem well enough now. So over the winter holiday I started putting together the design of IdeBuildPipeline.

The pipeline is a one-directional series of build phases. Each phase can have stages attached to it. Builds progress in the order of their attached stages, each of which can be an asynchronous operation. We only need to advance the build up to the requested phase. If the IDE detects something has changed, it can invalidate various phases of the pipeline causing them to be executed again at the next build request.

Plugins should implement the IdeBuildPipelineAddin interface to register any necessary pipeline stages.

Generally, build stages are an IdeSubprocessLauncher, but you can implement custom IdeBuildStage subclasses to do more fancy things. For example, if you need to download something, you might add an IdeBuildStageTransfer and you’ll see the transfer show up in the transfers window.

Of course, some problems are complex enough where we don’t know if they are invalidated upfront and the build stage may query some external resource. For that, the IdeBuildStage class can implement the query signal. Of course we should strive to perform blocking operations asynchronously so consider pausing the stage until your asynchronous request has completed.

We know how difficult it is for newcomers to get started so we’ve taught Builder how to download Flatpak runtimes and SDKs based on your project configuration. That means that you can omit those flatpak install commands from your “project setup” guide. Just clone the project URL and click Build, we’ll take care of the rest.

Thanks to this new design, implementing a build system is much easier. To prove this, I finally implemented a basic cmake+ninja plugin in a matter of an hour. Check it out here. If you’d like to write CFLAG extraction for cmake, we could use that still!

We now have support for autotools, cargo, cmake, and meson build systems.

Contribute to Polari with this one simple trick!

I’ve been rather quiet recently working on new features for Builder. But we managed to just release Builder 3.22.3 which is full of bug fixes and a really new important feature. You can now meaningfully target flatpak when building your application. Matthew Leeds has done this outstanding work and it is really going to simplify how you contribute to GNOME applications going forward.

I’m really happy with the quality of this feature because it has shown me where our LibIDE design has done well, and where it has not. Of course, we will address that for 3.24 to help make some of the UI less confusing.

Without further ado, how to clone, build, run, and hack on Polari without so much as a toolchain installed on your host system. The only prerequisite is to get GNOME Builder 3.22.3 from the GNOME flatpak repository (or your distribution if it is up to date).

Edit: Your system might require the installation of flatpak-builder if it is in a separate package (such as on Fedora 25).

# Get things ready on Fedora 25
sudo dnf install flatpak-builder

# Download GNOME's nightly SDK for development.
# We'll automate this for GNOME 3.24.
flatpak --user remote-add gnome-nightly \
https://sdk.gnome.org/gnome-nightly.flatpakrepo
flatpak --user install gnome-nightly org.gnome.Sdk master
flatpak --user install gnome-nightly org.gnome.Platform master

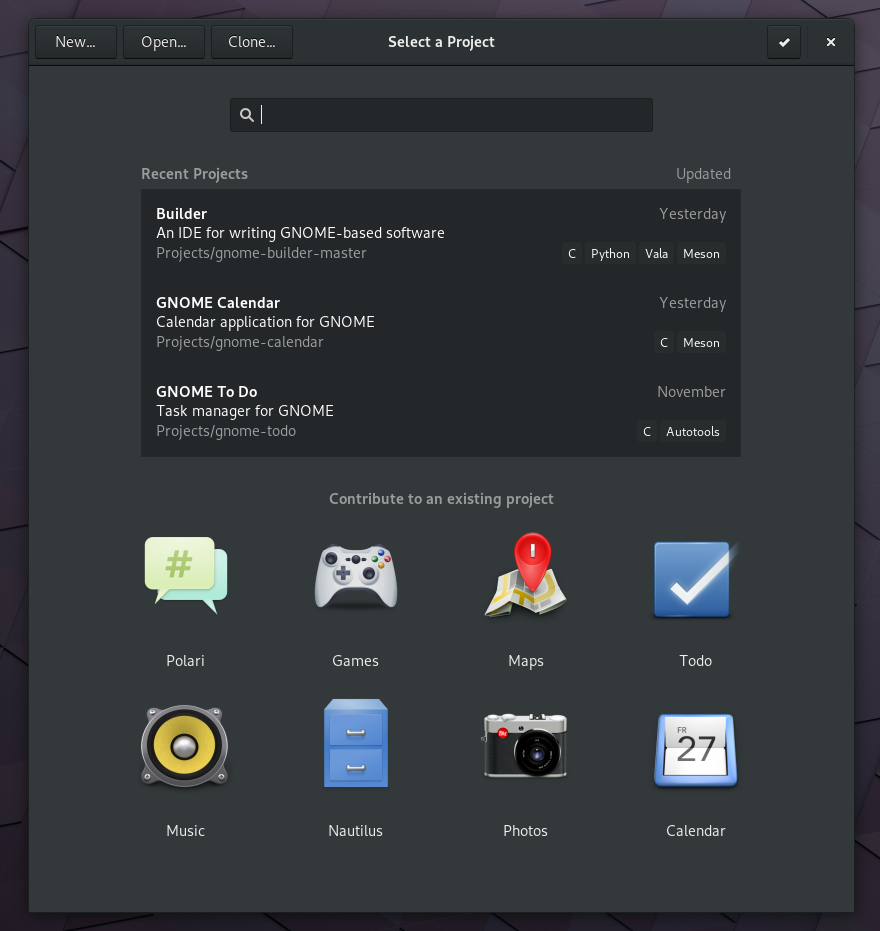
Open Builder, select Clone from the buttons in the header bar.
Set the URL for Polari to git://git.gnome.org/polari (optionally use user@git.gnome.org:/git/polari.git if you have commit access to GNOME)
Click on the blue Clone button
Click on the blue Clone button and wait a few moments while we download the repository
You'll be presented with the Workbench like so, click on “Build Preferences” in the perspective selector.
You’ll be presented with the Workbench like so, click on “Build Preferences” in the perspective selector.
Now select “org.gnome.Polari.json” as the build runtime. (We expect this to be treated as a build configuration in 3.24)
Now select “org.gnome.Polari.json” as the build runtime. (We expect this to be treated as a build configuration in 3.24 instead of a runtime)
Click the Build button on the header bar or in the build popover
On the first build, flatpak-builder is used to build all the necessary dependencies for Polari (such as telepathy). After it has built, click on the “Run” button in the header bar.
Hey! Look at that, a Polari window connected to freenode!
To make sure I'm not fooling you, let's add a printf() to polari.c (the application entry point). Save, then click “Run” again.
To make sure I’m not fooling you, let’s add a printf() to polari.c (the application entry point). Save, then click “Run” again.
How about that, we can see the output in the “Run Output” panel and Polari still seems to work. Yay!